Let’s be honest, we’ve all been there. You open the fridge, full of good intentions, only to find that beautiful steak you bought is now a sad shade of grey, or the fresh berries have turned into a mushy mess. It feels like throwing money straight into the trash can, right? This is where a vacuum sealer steps in, changing the game for your kitchen and your wallet. But with so many options out there, our Vacuum Sealer Price Comparison 2025 is exactly what you need to navigate the market and find the perfect machine without breaking the bank. Think of me as your guide on this journey to fresher food and smarter savings. I’ve spent years testing, tinkering with, and even occasionally breaking these gadgets so you don’t have to.
How Does a Vacuum Sealer Actually Work?
At its core, a vacuum sealer is brilliantly simple. It does two things: sucks the air out of a specialized bag and then uses heat to create an airtight seal. Why is this so effective? The main culprit behind food spoilage, freezer burn, and flavor loss is oxygen. By removing the air, you’re essentially hitting the pause button on the decay process.
“Removing oxygen dramatically slows down the growth of aerobic bacteria and molds, which are primary agents of food spoilage. It’s one of the most effective, non-chemical methods of food preservation available to the home cook.”
– Dr. Eleanor Vance, Food Scientist
It’s not just about extending shelf life. Vacuum sealing also locks in flavor, moisture, and nutrients. That steak you seal today will taste just as juicy and flavorful months from now. It’s also the secret weapon for anyone into sous vide cooking, ensuring perfect, even results every time.
What Are the Main Types of Vacuum Sealers?
Walking into this world can feel a bit overwhelming, but the options generally boil down to three main categories. Understanding the difference is the first step in our price comparison.
External or ‘Edge’ Sealers
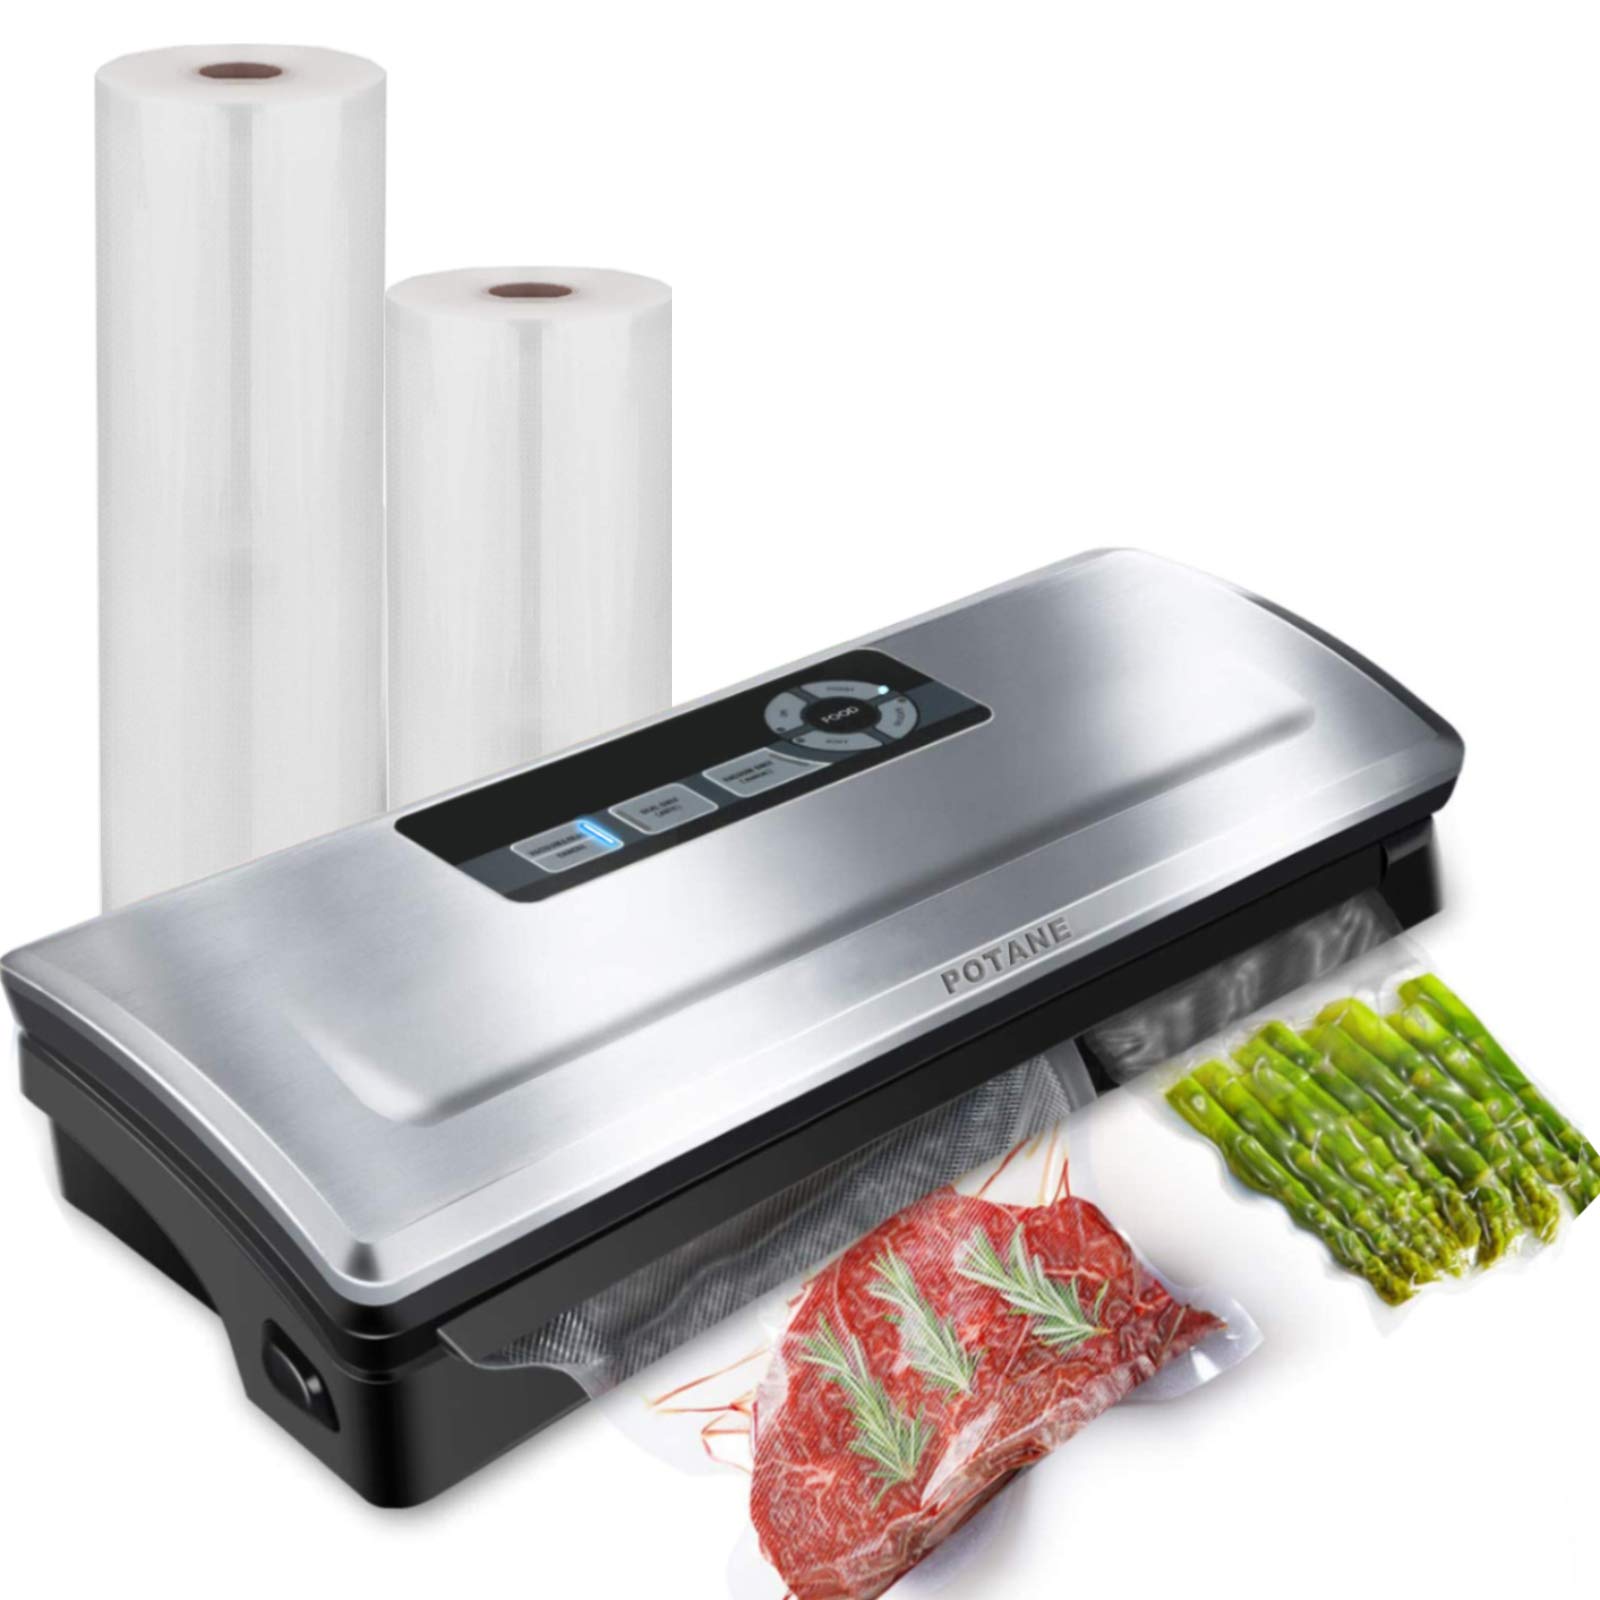
This is what most people picture when they think of a vacuum sealer. You place the open end of the bag into the machine’s channel, close the lid, and it sucks the air out before sealing the edge.
- Pros: Generally more affordable, smaller footprint on your countertop, and a huge variety of models to choose from. Perfect for the average household.
- Cons: They can struggle with liquids (sucking them into the motor) and can sometimes crush delicate items like bread or chips.
Chamber Sealers
These are the heavy-duty workhorses of the vacuum sealing world. You place the entire bag inside a chamber, close the lid, and the machine removes the air from the entire chamber at once. Because the air pressure is equalized inside and outside the bag, liquids stay put.
- Pros: Unbeatable for sealing soups, marinades, and stews. They provide a stronger, more reliable seal and can be used for more commercial-style applications.
- Cons: They are significantly larger, heavier, and carry a much higher price tag. This is more of an investment for a serious home chef, hunter, or homesteader.
Handheld Sealers
These are small, portable devices that work with special bags or containers that have a built-in valve. You press the handheld unit against the valve, and it sucks the air out.
- Pros: Very inexpensive, compact, and great for short-term storage of things like cheese, deli meats, or leftovers in the fridge.
- Cons: They lack the power of their larger counterparts and are not suitable for long-term freezer storage.
How Do You Use a Vacuum Sealer? A Simple Guide
Getting started is easier than you think. While every model is slightly different, the basic process is universal.
- Prepare Your Bag: Use a roll to create a custom-sized bag or grab a pre-sized one. If making your own, be sure to give your first seal a good press.
- Fill the Bag: Place your food inside, but be careful not to overfill. You need to leave at least 3-4 inches of empty space at the top for a proper seal. This is a common mistake I see people make! You can find more details on choosing the right supplies in our Complete Guide to Vacuum Sealer Bags and Rolls.
- Position the Bag: Open the lid of your sealer and carefully place the open end of the bag into the vacuum channel or drip tray. Make sure it’s flat and free of wrinkles.
- Lock and Load: Close the lid and secure it. Most models have latches on the side that will click into place.
- Start the Process: Press the “Vacuum & Seal” button. The machine will whir to life, removing the air. You’ll see the bag shrink tightly around the food. Once the vacuum process is complete, the heat bar will activate to seal the bag.
- Release and Inspect: Once the indicator light turns off, unlock the lid and remove your bag. Check the seal—it should be clear, clean, and complete from edge to edge.
Tips and Tricks for Perfect Sealing Results
After sealing thousands of bags, I’ve picked up a few tricks that make a world of difference.
- Pre-freeze Liquids: Want to seal soup or a marinade without a chamber sealer? Pour it into the bag, stand it upright in the freezer for a couple of hours until it’s solid, and then seal it. No mess, perfect seal.
- The Double Seal: For long-term freezer storage or anything with a bit of moisture, run the “Seal” function a second time about a quarter-inch away from the first seal. It’s an extra layer of insurance against failure.
- Protect from Punctures: Sealing something with sharp edges, like bones or dried pasta? Fold over a small piece of paper towel and place it inside the bag over the sharp point before sealing.
- Control the Crush: For delicate items like a loaf of bread or a bag of chips, use the “Pulse” function if your machine has one. This gives you manual control over the vacuum so you can stop before it crushes your food. If not, just hit the “Seal” button manually once you see enough air has been removed.
|
Our Picks for the Best Food Vacuum Cealer in 2026
As an Amazon Associate, we earn from qualifying purchases.
|
||
| Num | Product | Action |
|---|---|---|
| 1 |

|
|
| 2 | FoodSaver V4400 2-in-1 Vacuum Sealer Machine with Automatic Vacuum Sealer Bag Detection and Starter Kit |
|
| 3 | Chef Preserve Compact Vacuum Sealer for Food (Vacuum Sealer Machine + 30 Reusable Vacuum Bags) Powerful Handheld Vacuum Sealer Machine, Seal Meal Saver, Portable Food Sealer |
|
| 4 | FoodSaver Compact Vacuum Sealer Machine with Airtight Bags and Roll - Ideal for Sous Vide and Airtight Food Storage, White |
|
| 5 | Vakumar Liquid Vacuum Sealer Machine, 90Kpa Vacuum Sealer Machine Preservation Dry/Moist/Liquid Modes, LED Indicator Light, Handle Locked Design, Built-in Cutter and Bag Storage, Removable Drip Tray |
|
| 6 | Nesco Deluxe Food VS-12 Vacuum Sealer, 130 Watts, Kit Bags & Viewing Lid, Compact, Silver |
|
| 7 | Vacuum Sealer Machine Powerful 90Kpa Precision 6-in-1 Compact Food Preservation System with Cutter, 2 Bag Rolls & 5 Pre-cut Bags, Widened 12mm Sealing Strip, Dry&Moist Modes (Silver) |
|
| 8 | NutriChef Automatic Vacuum Air Sealing System for Food Preservation with Starter Kit, Compact Design, Lab Tested, Dry & Moist Food Modes with Led Indicator Lights, Black |
|
| 9 | FoodSaver Vacuum Sealer Machine, Automatic Bag Detection, Sous Vide Friendly, with sealer bags, roll, handheld vacuum sealer, black |
|
| 10 | SEATAO VH5188 Automatic Vacuum Sealer Machine, 90kPa Multifunction Commercial Vacuum Food Sealer For Food Preservation, Dry & Moist & Food & Extended Modes, LED lights, Double Seal |
|
What Foods Should You Vacuum Seal (And Which to Avoid)?
While you can seal almost anything, some foods require a bit of extra prep, and a few should be avoided altogether.
| Safe to Seal (Go for it!) | Seal with Caution (Prep First!) | Best to Avoid Sealing |
|---|---|---|
| Meats & Poultry: Beef, chicken, fish, pork | Cruciferous Vegetables: Broccoli, cauliflower, cabbage. Blanch them first to stop enzymes from releasing gas. | Soft Cheeses: Brie, Camembert, Ricotta. The lack of air can promote anaerobic bacteria. |
| Hard Cheeses: Cheddar, Parmesan | Fresh Onions & Garlic: They can also release gases. Best to use frozen or dehydrated versions for long-term storage. | Fresh Mushrooms: They ripen very quickly and can spoil inside the bag due to anaerobic decay. |
| Dry Goods: Coffee beans, pasta, flour, nuts | Soups & Sauces: Pre-freeze them solid before sealing to avoid sucking liquid into the motor. | Whole Raw Apples: The ripening process releases gases that will expand the bag. |
| Fruits & Berries: Especially for freezer smoothies | Delicate Baked Goods: Use the pulse function or stop the vacuum early to prevent crushing. |
Your Vacuum Sealer Price Comparison 2025: What Do You Get for Your Money?
Okay, let’s talk numbers. The price of a vacuum sealer is directly tied to its power, features, and durability. Here’s a breakdown of what you can generally expect in different price brackets.
| Price Tier | What You Get | Best For |
|---|---|---|
| Budget-Friendly (Under $100) | Basic external/edge sealers, vacuum and seal functions, sometimes a “gentle” mode. Construction is mostly plastic. | Beginners, occasional users, and people sealing primarily dry goods for the freezer. |
| Mid-Range Sweet Spot ($100 – $300) | More powerful motors, features like wet/dry modes, built-in bag roll storage and cutter, pulse functions, and often stainless steel accents. | The majority of home users. This range offers the best balance of performance, features, and durability for everyday kitchen tasks. |
| Pro-Level Investment ($300+) | High-end external sealers with dual-pumps and commercial-grade components, or entry-level chamber vacuum sealers. | Sous vide enthusiasts, hunters, anglers, bulk shoppers, and anyone who needs to seal liquids or large quantities of food regularly. |
Navigating this is about matching the machine to your lifestyle. If you just want to stop your Costco chicken breasts from getting freezer burn, a sub-$100 model will serve you well. If you’re an avid fisherman or a meal-prep master who plans to seal saucy dishes, investing in that mid-range or pro-level machine will save you a ton of frustration. A powerful tool like this is essential for anyone serious about reducing food waste at home.
Frequently Asked Questions
What’s the real difference between a cheap and an expensive vacuum sealer?
The main differences lie in the vacuum motor’s strength, the quality of the sealing bar, and the feature set. More expensive models pull a stronger vacuum faster, have more reliable and wider seals, and include conveniences like built-in bag cutters, wet/dry modes, and marinating functions. The vacuum sealer price comparison 2025 really comes down to power and features.
How much money can I actually save with a vacuum sealer?
A lot! By buying in bulk, taking advantage of sales, and dramatically reducing food waste, a typical family can save hundreds of dollars a year. A vacuum sealer often pays for itself within the first 6-12 months of use.
Can you reuse vacuum sealer bags?
Yes, you can! As long as the bag previously held non-greasy, dry goods, you can wash it thoroughly in warm, soapy water, let it dry completely, and reuse it. Just be sure to cut off the old seal and ensure you still have enough length to reach the machine’s vacuum channel.
Do I absolutely need a vacuum sealer for sous vide cooking?
While you can use the water displacement method with regular zipper bags, a vacuum sealer provides far superior results. It ensures no water gets into the bag and that the bag maintains tight contact with the food, which is critical for even and precise cooking.
How long does vacuum-sealed food last in the freezer?
Properly vacuum-sealed food can last 3-5 times longer than food stored in conventional zipper bags or containers. For example, beef that might last 6 months in the freezer can easily last 2-3 years when vacuum sealed, with no loss of quality or freezer burn.
Your Final Verdict
Choosing the right vacuum sealer isn’t about finding the cheapest option; it’s about finding the best value for your specific needs. By understanding the different types, features, and what your money gets you, you can make a confident choice that will transform your kitchen. You’ll save money, reduce waste, and enjoy fresher, more flavorful food all year long. Armed with this vacuum sealer price comparison 2025, you’re ready to make a smart investment that your future self will thank you for. Now, go forth and seal! We’d love to hear about your first sealing success stories in the comments below.