Let’s be honest, we’ve all been there. You open the fridge, full of good intentions, only to find that beautiful bunch of asparagus has gone limp, or the steak you were saving for a special occasion is showing the first signs of freezer burn. It’s that sinking feeling of wasted food and wasted money. But what if I told you there’s a kitchen gadget that can practically hit the “pause” button on spoilage? If you’re ready to transform your kitchen and your budget, it’s time to buy a food vacuum sealer online. This isn’t just another appliance destined to gather dust; it’s a game-changer for meal preppers, bulk buyers, gardeners, and anyone who’s tired of throwing their hard-earned money in the trash. Welcome to your definitive guide to making one of the smartest investments for your kitchen.
What’s the Big Deal? How a Vacuum Sealer Works Its Magic
So, how does this kitchen wizardry actually work? In short, a food vacuum sealer removes the air from a specially designed bag or container before creating an airtight seal. This simple action is incredibly powerful because it tackles the primary enemies of food freshness: oxygen and moisture.
Oxygen is what fuels the growth of mold, mildew, and bacteria. By removing it, you dramatically slow down the decaying process. This means your food stays fresh, flavorful, and nutritious for up to five times longer than traditional storage methods. Think of it like this: leaving food out is like leaving a car in the rain to rust. Storing it in a regular container is like putting it in a leaky garage. Vacuum sealing is like putting it in a climate-controlled, hermetically sealed vault.
The key benefits are impossible to ignore:
- Slash Your Food Waste: Keep fruits, veggies, meats, and leftovers fresh for weeks or even months. No more “science experiments” in the back of your fridge!
- Save Serious Money: Buy in bulk at warehouse clubs or when items are on sale, then seal and store for later. You’re basically locking in the savings.
- Protect Against Freezer Burn: That icy, discolored layer on frozen food? That’s freezer burn, caused by air exposure. Vacuum sealing creates an impenetrable barrier, keeping your frozen goods pristine.
- Supercharge Your Meal Prep: Portion out meals for the week, seal them, and they’ll taste just as fresh on Friday as they did on Sunday.
- Unlock Advanced Cooking: A vacuum sealer is the essential partner for sous vide cooking, a technique used by top chefs to achieve perfectly cooked, tender results every time.
The Two Main Players: What Types of Food Vacuum Sealers Are There?
When you start your search to buy a food vacuum sealer online, you’ll quickly notice two main categories. Understanding the difference is key to picking the right one for your needs.
The two primary types are external (or “edge”) sealers and chamber vacuum sealers. External sealers are the most common for home use, where you place the food in a bag and the machine’s open end clamps down to suck the air out and seal it. Chamber sealers are more powerful, placing the entire bag inside a chamber, which allows for sealing liquids without any mess.
External Vacuum Sealers
These are the models you’ll most often see in home kitchens. They’re compact, affordable, and perfect for the average family.
- How they work: You place the open end of a textured vacuum sealer bag into the machine’s channel. When you close the lid and press a button, it sucks the air out through that open end and then uses a heat bar to melt the bag shut.
- Best for: Solids, like cuts of meat, cheese, dry goods, and pre-frozen portions of soups or sauces.
- Pros: Generally less expensive, smaller footprint on your countertop.
- Cons: Can struggle with sealing pure liquids (it might suck the liquid into the machine), and the specialized bags can be more expensive over time.
Chamber Vacuum Sealers
Once the domain of commercial kitchens, chamber sealers are becoming more popular for serious home cooks, hunters, and fishermen.
- How they work: You place the entire bag of food (including liquids) inside the machine’s chamber. When you close the lid, it removes the air from the entire chamber, equalizing the pressure inside and outside the bag. This clever trick means the liquid stays put. Then, a sealing bar seals the bag before air is let back into the chamber.
- Best for: Everything, but especially liquids like soups, stews, marinades, and sauces.
- Pros: Can seal liquids effortlessly, bags are much cheaper, often achieve a stronger vacuum.
- Cons: Significantly more expensive, much larger and heavier.
Your First Sealing Session: A Step-by-Step Guide
Got your new machine? Awesome! It might look intimidating, but it’s incredibly straightforward. I remember my first time; I was sealing everything that wasn’t nailed down! Here’s how to do it right.
- Prep Your Food: Make sure your food is clean and dry. Pat meats and fish with a paper towel. For produce, it’s best to wash and thoroughly dry it first.
- Choose Your Bag: Use a bag that’s a few inches longer than your food item to ensure you have enough space for a proper seal. For external sealers, make sure you’re using the correct textured bags.
- Fill the Bag: Place the food inside, arranging it in a single, flat layer if possible. Avoid overfilling the bag.
- Position the Bag: For an external sealer, place the open end of the bag flat and wrinkle-free into the vacuum channel, following your machine’s specific instructions.
- Start the Process: Close the lid, lock it in place, and press the “Vacuum & Seal” button. The machine will whir to life, sucking out the air. You’ll literally see the bag shrink-wrap around your food.
- The Seal: Once the air is removed, the heat bar will activate for a few seconds to create a strong, permanent seal. The machine will typically shut off automatically when it’s done.
- Inspect and Store: Check the seal to make sure it’s complete and unbroken. Label the bag with the contents and date (trust me on this!), and pop it in the fridge, freezer, or pantry.
Pro Tips and Tricks for Perfect Sealing Every Time
Ready to go from a beginner to a vacuum-sealing virtuoso? These are the little secrets I’ve learned over the years that make a huge difference.
- Pre-Freeze Your Liquids: Want to seal soup with an external sealer? No problem. Pour it into a container, freeze it solid, then pop the frozen block into a bag and seal it. It works like a charm.
- Give it Some Headspace: Always leave at least 2-3 inches of space at the top of the bag. The machine needs this room to get a good grip and create a clean seal.
- Protect from Sharp Edges: Sealing things with sharp bones or hard pasta? Fold over a small piece of paper towel and place it over the sharp edge inside the bag to prevent it from puncturing the plastic.
- Double Seal for Security: For long-term freezer storage or for sous vide cooking, run a second seal just above the first one. It’s a little extra insurance against any potential leaks.
- Blanch Your Veggies: For vegetables you plan to freeze for a long time (like broccoli, green beans, and carrots), it’s a good idea to blanch them first. This quick dip in boiling water stops the enzymes that can cause loss of flavor, color, and texture.
“The science is simple: removing oxygen halts the oxidative processes that degrade food quality. A good vacuum seal is the single most effective way for a home cook to preserve the integrity of their ingredients, locking in flavor and nutrients at their peak.” – Dr. Evelyn Reed, Food Scientist
|
Our Picks for the Best Food Vacuum Cealer in 2026
As an Amazon Associate, we earn from qualifying purchases.
|
||
| Num | Product | Action |
|---|---|---|
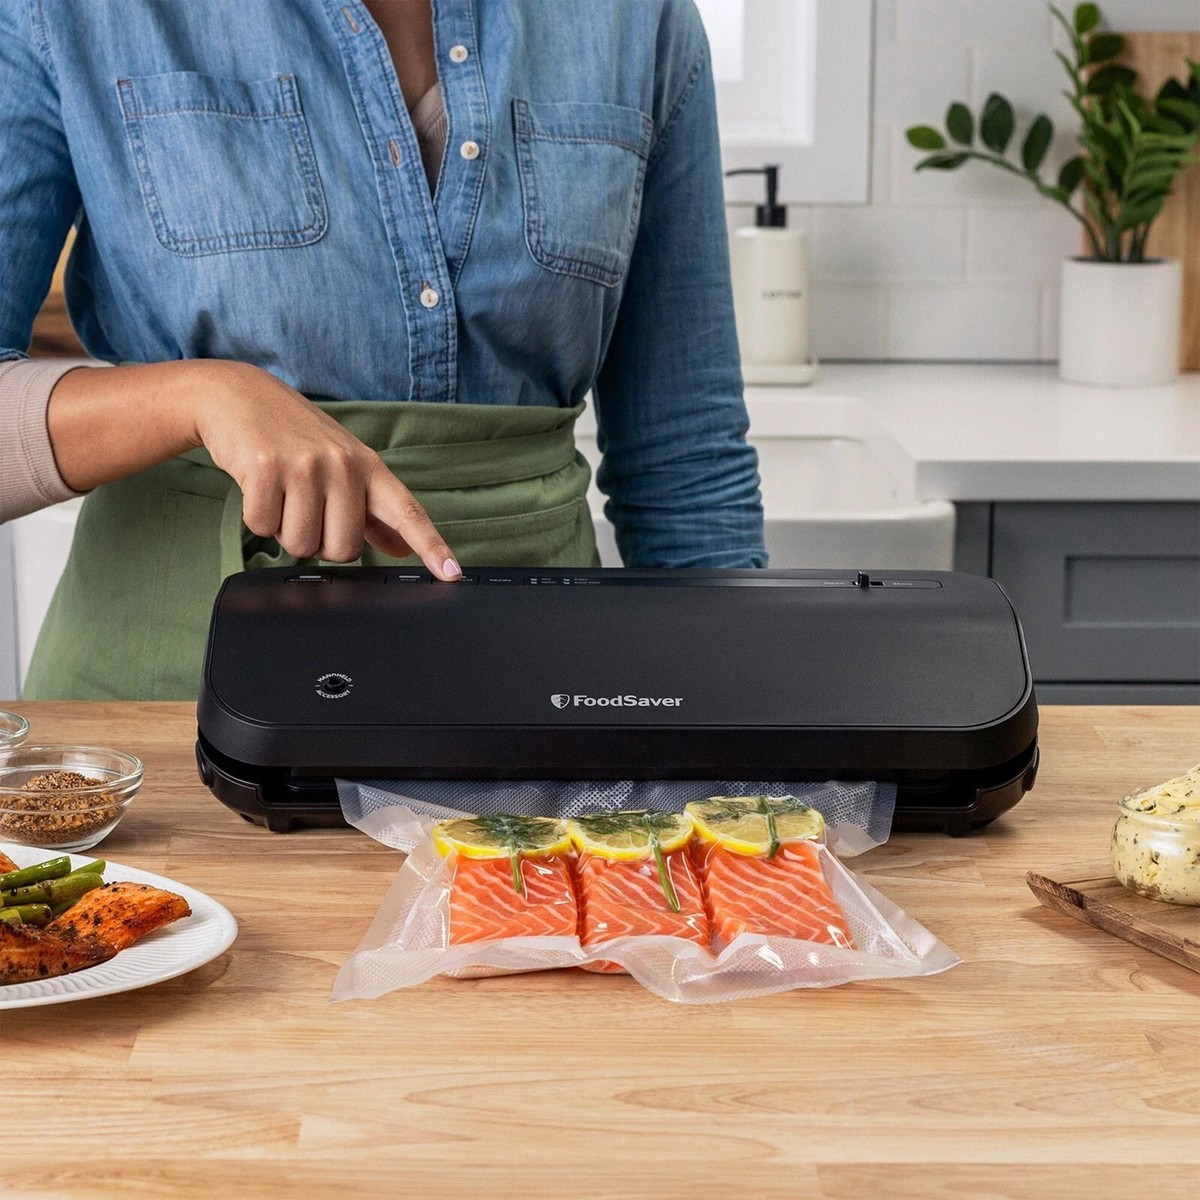
| 1 | FoodSaver Compact Vacuum Sealer Machine with Airtight Bags and Roll - Ideal for Sous Vide and Airtight Food Storage, White |

|
| 2 | NutriChef Automatic Vacuum Air Sealing System for Food Preservation with Starter Kit, Compact Design, Lab Tested, Dry & Moist Food Modes with Led Indicator Lights, Black |
|
| 3 | SEATAO VH5188 Automatic Vacuum Sealer Machine, 90kPa Multifunction Commercial Vacuum Food Sealer For Food Preservation, Dry & Moist & Food & Extended Modes, LED lights, Double Seal |
|
| 4 | Nesco Deluxe Food VS-12 Vacuum Sealer, 130 Watts, Kit Bags & Viewing Lid, Compact, Silver |
|
| 5 | Chef Preserve Compact Vacuum Sealer for Food (Vacuum Sealer Machine + 30 Reusable Vacuum Bags) Powerful Handheld Vacuum Sealer Machine, Seal Meal Saver, Portable Food Sealer |
|
| 6 | Vakumar Liquid Vacuum Sealer Machine, 90Kpa Vacuum Sealer Machine Preservation Dry/Moist/Liquid Modes, LED Indicator Light, Handle Locked Design, Built-in Cutter and Bag Storage, Removable Drip Tray |
|
| 7 | Vacuum Sealer Machine Powerful 90Kpa Precision 6-in-1 Compact Food Preservation System with Cutter, 2 Bag Rolls & 5 Pre-cut Bags, Widened 12mm Sealing Strip, Dry&Moist Modes (Silver) |
|
| 8 | Anova Culinary Precision Vacuum Sealer Pro, Includes Large Bag Roll (19ft), Wet & Dry Dual Food Vacuum Sealer Machine for Sous Vide and Long-Term Storage, 2-Year Warranty |
|
| 9 | FoodSaver Vacuum Sealer Machine, Automatic Bag Detection, Sous Vide Friendly, with sealer bags, roll, handheld vacuum sealer, black |
|
| 10 | FoodSaver V4400 2-in-1 Vacuum Sealer Machine with Automatic Vacuum Sealer Bag Detection and Starter Kit |
|
The “Seal This, Not That” List: A Quick Reference
While you can seal most foods, there are a few exceptions you should know about for safety and quality reasons.
Foods You SHOULD Vacuum Seal:
- Meats and Poultry: Beef, chicken, pork, and fish are perfect candidates.
- Hard Cheeses: Prevents mold and keeps them from drying out.
- Dry Goods: Coffee beans, nuts, flour, sugar, and pasta stay fresh and pest-free.
- Fresh Produce: Berries, carrots, green beans (blanch first for best results).
- Leftovers & Prepped Meals: Lock in the freshness of last night’s dinner.
Foods You SHOULDN’T Vacuum Seal (or need special care):
- Cruciferous Vegetables: Raw broccoli, cauliflower, cabbage, and Brussels sprouts emit gases as they ripen. If you seal them raw, the bag will expand and the veggies can spoil. Always blanch or cook them first.
- Soft Cheeses: Cheeses like Brie, blue cheese, and ricotta don’t fare well, as the process can crush them and encourage the growth of anaerobic bacteria.
- Fresh Mushrooms: Similar to cruciferous veggies, they ripen and release gases. It’s better to cook them before sealing.
- Whole Garlic & Onions: Sealing these raw can create a risk of botulism due to the low-oxygen environment. It’s much safer to seal them cooked or dehydrated.
How to Choose the Right Vacuum Sealer for You
Okay, you’re convinced. But with so many options, how do you pick the one that’s right for you when you buy a food vacuum sealer online? Focus on these key questions.
- What’s Your Budget? External sealers can range from under $100 to a few hundred dollars. Chamber sealers are a bigger investment, often starting around $400 and going up from there. Be honest about what you’re willing to spend.
- How Often Will You Use It? If you’re a casual user sealing leftovers once a week, a basic model will do just fine. If you’re a hunter, an avid meal prepper, or a sous vide enthusiast, investing in a more robust model with a stronger motor and better features is a wise choice.
- What Will You Be Sealing? If you plan on sealing a lot of soups, stews, and marinades, a chamber sealer might be worth the splurge. If you’re mostly sealing solids, a quality external sealer is more than enough.
- What Features Matter? Look for things like a built-in bag cutter, a bag storage roll compartment, a “moist” food setting, and an accessory port for sealing canisters. These quality-of-life features can make the process much smoother.
Frequently Asked Questions (FAQ)
1. How long does vacuum-sealed food actually last?
It varies, but as a general rule, vacuum-sealed food lasts 3-5 times longer than non-sealed food. Frozen vacuum-sealed meat, for example, can last for 2-3 years instead of 6-12 months, and refrigerated items can last for weeks instead of days.
2. Can I reuse the vacuum sealer bags?
Yes, you can, with some caveats. If the bag previously held raw meat, poultry, or fish, you should discard it to avoid cross-contamination. For other foods, you can wash the bags thoroughly with hot, soapy water, let them dry completely, and reuse them. Just make sure to cut off the old seal and ensure the bag is still long enough.
3. Is it worth getting a vacuum sealer just for sous vide?
Absolutely. While you can use the water displacement method with regular zipper bags, a vacuum sealer provides a much more reliable, truly airtight seal. This ensures even cooking and prevents any water from getting into your bag, which is crucial for perfect sous vide results.
4. Do I need to buy special bags?
Yes, for external vacuum sealers, you need to use bags that are specifically designed for them. These bags have textured channels on one side that allow the air to be pulled out effectively. Chamber sealers can use smooth, much cheaper pouches.
5. Will a vacuum sealer save me money in the long run?
Without a doubt. Between buying in bulk, extending the life of your groceries, and eliminating food waste from spoilage and freezer burn, most people find their vacuum sealer pays for itself within the first year.
Your Journey to a Fresher Kitchen Starts Now
Stepping into the world of vacuum sealing is more than just buying another kitchen tool; it’s adopting a smarter, more sustainable, and more delicious way of life. You’ll save money, reduce waste, and enjoy food that tastes fresher for longer. From planning your weekly meals to preserving the bounty from your garden, the possibilities are endless. So, take what you’ve learned here, explore your options, and get ready to make a confident choice when you buy a Food Vacuum Sealer online. Your future, less-wasteful self will thank you.