Hey there, fellow food enthusiast! Let’s have a little chat. Ever opened your freezer, ready to pull out that beautiful steak or a bag of summer berries, only to find it covered in a crust of icy, unappetizing freezer burn? It’s a culinary heartbreaker. But what if I told you there’s a kitchen gadget that not only stops that tragedy in its tracks but also unlocks a world of incredible culinary and household shortcuts? We’re diving deep into some game-changing DIY hacks with a food vacuum sealer that go way beyond just preserving leftovers. Think of your vacuum sealer as a secret weapon. It’s not just for saving food; it’s for transforming it, protecting your valuables, and even making your life a little more organized. Ready to have your mind blown? Let’s get sealing.
So, How Does a Food Vacuum Sealer Actually Work?
At its core, a vacuum sealer does one simple, powerful thing: it removes air from a specially designed bag or container before sealing it shut. The enemy of fresh food is oxygen. It allows for the growth of mold and bacteria, causes freezer burn, and breaks down the nutrients, flavor, and texture of your food. By sucking out nearly all the air, you’re creating an environment where food is protected from these degrading effects.
The benefits are huge. We’re talking about extending the shelf life of freezer foods from months to years, keeping pantry items like coffee and nuts fresh for weeks longer, and completely eliminating freezer burn. It’s about saving money, reducing waste, and honestly, making your food taste better.
What Are the Common Types of Food Vacuum Sealers?
Before you can master the hacks, it helps to know your tool. Most home kitchens will have one of two types, and they each have their strengths.
External or Suction Vacuum Sealers
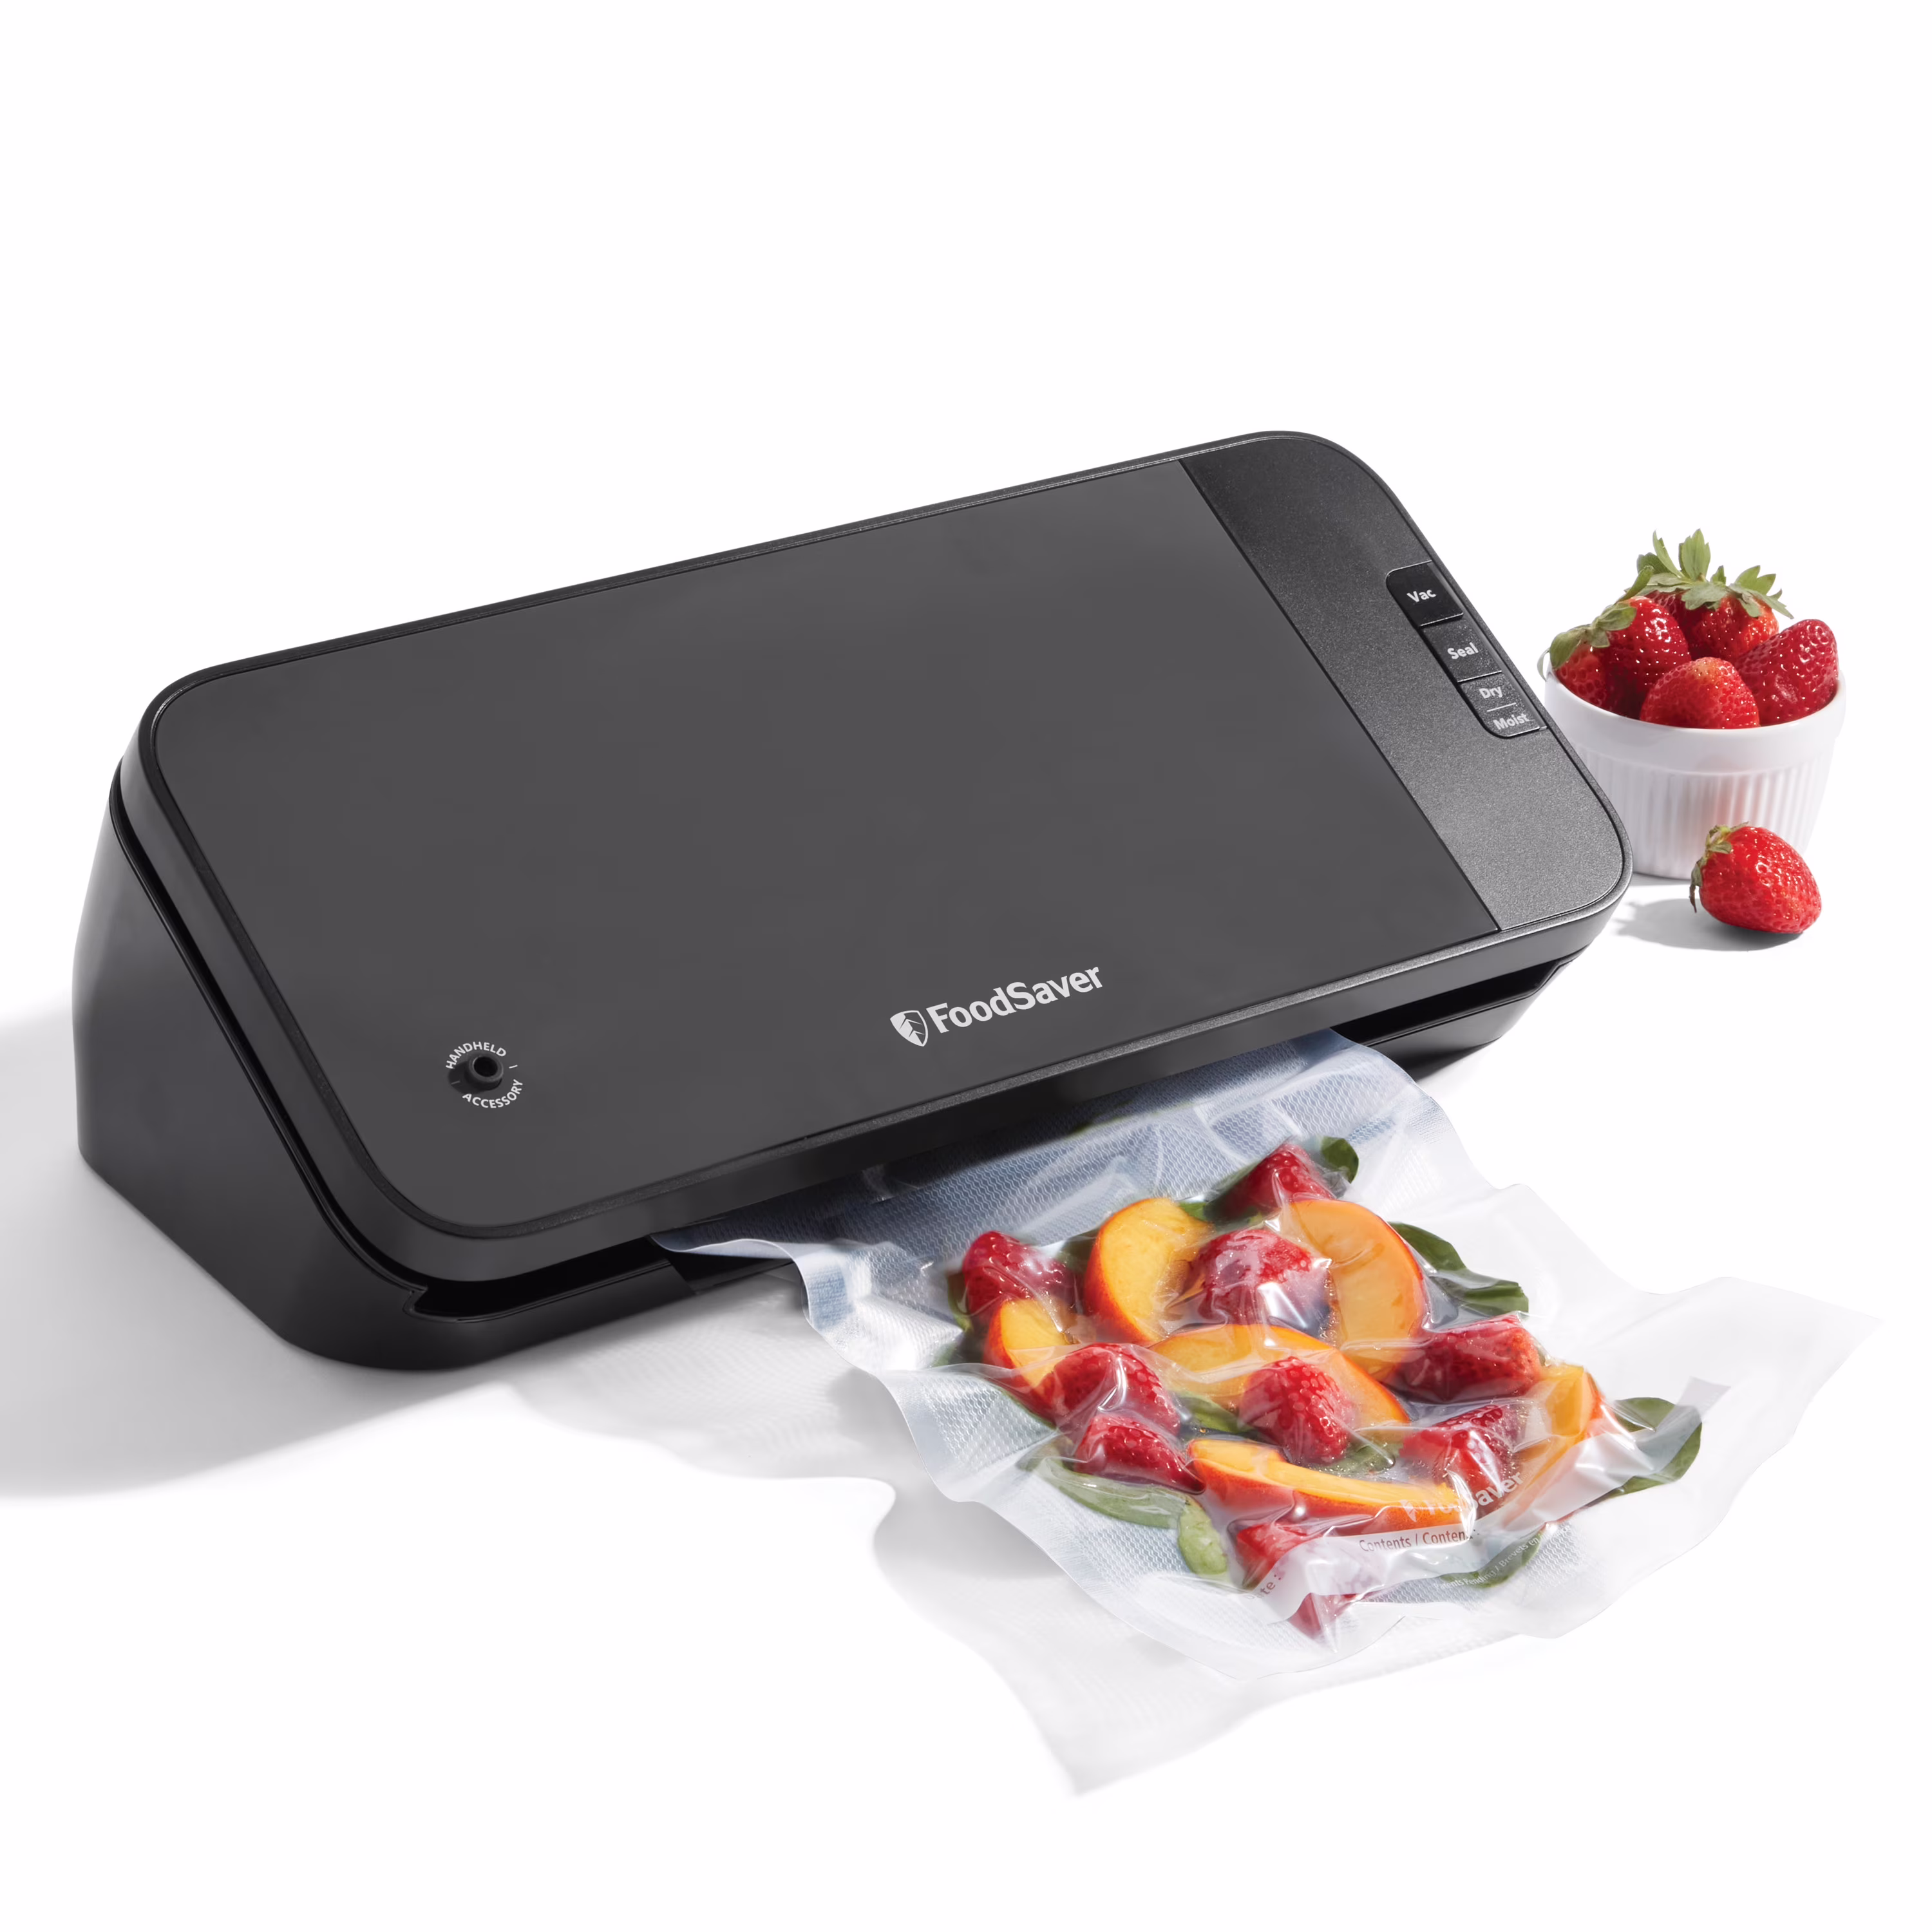
This is the most common type you’ll see in homes. You place the open end of a textured bag into the machine’s channel, close the lid, and the machine sucks the air out before heat-sealing the edge. They’re fantastic for solid and firm foods. Think of it as the reliable family sedan of vacuum sealers—versatile, affordable, and perfect for most everyday jobs.
Chamber Vacuum Sealers
These are the heavy-duty powerhouses, often found in professional kitchens. You place the entire bag inside a chamber. The machine then changes the air pressure inside the chamber, which removes the air from the bag without sucking. This key difference means you can seal liquids like soups and stews without a single drop being pulled into the machine. It’s the sports car of sealers—powerful, precise, and a dream for serious cooks and those who seal liquids often.
A Step-by-Step Guide to Using Your Vacuum Sealer
Feeling a little intimidated? Don’t be. Once you do it a couple of times, it becomes second nature. Here’s the basic process for a standard external sealer.
- Prep Your Bag: Use a roll to create a custom-sized bag or grab a pre-sized one. Make sure you leave at least three inches of extra space at the top—this is called “headspace,” and it’s crucial for getting a good seal.
- Fill the Bag: Place your food item inside. Try to keep the sealing area at the top of the bag clean and dry. Any food residue or moisture can prevent a perfect seal. A little trick I use is to fold the top edge of the bag outward like a cuff before filling it.
- Position the Bag: Open the lid of your vacuum sealer and carefully place the open end of the bag into the vacuum channel or drip tray, following your machine’s specific instructions.
- Seal the Deal: Close and lock the lid. Press the “Vacuum & Seal” button. The machine will whir to life, sucking all the air out. You’ll literally see the bag shrink-wrap around your food. Once the vacuum process is complete, the heat bar will activate to create a strong, airtight seal.
- Check Your Work: The machine will typically shut off automatically. Unlock the lid and inspect the seal. It should be clear and have no wrinkles or gaps. If it looks incomplete, just cut it off and try again.
Pro Tips and Game-Changing DIY Hacks with a Food Vacuum Sealer
Alright, this is where the magic happens. Let’s move beyond basic preservation and into the realm of truly clever DIY hacks with a food vacuum sealer.
Culinary Genius Hacks
- Supercharge Your Marinades: This is my absolute favorite hack. Normally, marinating takes hours. With a vacuum sealer, you can do it in under 30 minutes. Place your protein (chicken, steak, tofu) and marinade in a bag. When you vacuum seal it, the pressure opens up the pores of the meat, forcing the marinade deep inside. It’s a total game-changer for weeknight dinners.
- Master Sous Vide Cooking: If you’re into sous vide, a vacuum sealer isn’t just a hack; it’s essential. Sealing your food creates a perfectly watertight pouch that ensures even cooking and prevents the food from floating in the water bath.
- Instant Pickles & Infusions: Want quick-pickled onions for your tacos? Or maybe some garlic-infused olive oil? The same principle as marinating applies. The vacuum pressure dramatically speeds up the infusion process, giving you incredible flavor in a fraction of the time.
- Reseal Snack Bags: This one is simple but brilliant. Stop using flimsy clips that let your chips go stale. Just place the top of the original chip or cracker bag onto the sealer’s heat bar and use the “Seal Only” function. Voila—a factory-fresh seal every time.
Beyond the Kitchen: Household & Travel Hacks
- Waterproof Your World: Going camping or to the beach? Vacuum seal a mini first-aid kit, a change of socks, matches, or your phone and wallet. It creates a completely airtight and waterproof package. I once got caught in a torrential downpour while hiking, and my vacuum-sealed map and firestarter saved the day.
- Tarnish-Proof Your Silver: Silver tarnishes because of exposure to air. By vacuum sealing your good silverware or jewelry, you remove the air and stop tarnish before it starts.
- Compact & Organize: Vacuum seal bulky items like out-of-season clothing or blankets to shrink them down for storage. For travelers, it’s a fantastic way to save a massive amount of luggage space. You can also seal small items like screws, beads, or puzzle pieces to keep them from getting lost.
|
Our Picks for the Best Food Vacuum Cealer in 2026
As an Amazon Associate, we earn from qualifying purchases.
|
||
| Num | Product | Action |
|---|---|---|
| 1 | Vacuum Sealer Machine Powerful 90Kpa Precision 6-in-1 Compact Food Preservation System with Cutter, 2 Bag Rolls & 5 Pre-cut Bags, Widened 12mm Sealing Strip, Dry&Moist Modes (Silver) |

|
| 2 | SEATAO VH5188 Automatic Vacuum Sealer Machine, 90kPa Multifunction Commercial Vacuum Food Sealer For Food Preservation, Dry & Moist & Food & Extended Modes, LED lights, Double Seal |
|
| 3 | FoodSaver Vacuum Sealer Machine, Automatic Bag Detection, Sous Vide Friendly, with sealer bags, roll, handheld vacuum sealer, black |
|
| 4 | Anova Culinary Precision Vacuum Sealer Pro, Includes Large Bag Roll (19ft), Wet & Dry Dual Food Vacuum Sealer Machine for Sous Vide and Long-Term Storage, 2-Year Warranty |
|
| 5 | FoodSaver V4400 2-in-1 Vacuum Sealer Machine with Automatic Vacuum Sealer Bag Detection and Starter Kit |
|
| 6 | Chef Preserve Compact Vacuum Sealer for Food (Vacuum Sealer Machine + 30 Reusable Vacuum Bags) Powerful Handheld Vacuum Sealer Machine, Seal Meal Saver, Portable Food Sealer |
|
| 7 | NutriChef Automatic Vacuum Air Sealing System for Food Preservation with Starter Kit, Compact Design, Lab Tested, Dry & Moist Food Modes with Led Indicator Lights, Black |
|
| 8 | Vakumar Liquid Vacuum Sealer Machine, 90Kpa Vacuum Sealer Machine Preservation Dry/Moist/Liquid Modes, LED Indicator Light, Handle Locked Design, Built-in Cutter and Bag Storage, Removable Drip Tray |
|
| 9 | Nesco Deluxe Food VS-12 Vacuum Sealer, 130 Watts, Kit Bags & Viewing Lid, Compact, Silver |
|
| 10 | FoodSaver Compact Vacuum Sealer Machine with Airtight Bags and Roll - Ideal for Sous Vide and Airtight Food Storage, White |
|
What Foods Should You Vacuum Seal? And What Should You Avoid?
While it’s an amazing tool, it’s not for everything. Knowing the difference is key to food safety and success.
Expert Take: As Chef Isabelle Dubois, a proponent of modern food preservation techniques, puts it, “A vacuum sealer doesn’t just preserve; it respects the ingredient. By removing oxygen, you’re locking in the peak flavor and texture that nature intended. But you must also respect the science—some foods simply don’t react well to an anaerobic environment.”
Seal It Up: Foods That Love the Vacuum
- Meats & Poultry: Raw or cooked, it’s perfect for preventing freezer burn.
- Fish: Especially oily fish, which can go rancid quickly.
- Hard Cheeses: Prevents mold and keeps them from drying out.
- Hard Fruits & Vegetables: Think carrots, green beans, and apples.
- Dry Goods: Coffee beans, nuts, flour, and pasta stay fresh for much longer.
- Pre-Made Meals: Perfect for meal prepping and portion control.
Hold Off: Foods to Never Vacuum Seal
- Soft Cheeses: Cheeses like brie, ricotta, and blue cheese contain live molds and bacteria that don’t do well in a vacuum.
- Raw Mushrooms: They ripen very quickly and can spoil even faster in a vacuum-sealed bag.
- Raw Garlic & Onions: These can release gases and, more importantly, create a risk for botulism in an oxygen-free environment if not stored properly (i.e., frozen or refrigerated immediately).
- Cruciferous Vegetables (Raw): This includes broccoli, cauliflower, cabbage, and kale. They emit natural gases that will cause the bag to expand and the vegetable to spoil. The solution? Blanch them first! A quick dip in boiling water, followed by an ice bath, deactivates the enzymes that cause this.
How Do I Choose the Right Vacuum Sealer for Me?
With so many models out there, how do you pick one? Ask yourself these simple questions.
- What will you seal most often? If you’re a hunter, angler, or bulk shopper dealing with large quantities of meat, invest in a more robust model. If you’re mostly sealing leftovers and pantry items, a quality entry-level machine is perfect.
- Will you be sealing liquids? If you dream of sealing soups and stews, you’ll either need a high-end chamber sealer or learn the trick of freezing the liquid in a container first before sealing the frozen block.
- What features matter? Look for things like a “moist” food setting (which uses a gentler vacuum), a built-in bag cutter, or an accessory port for sealing canisters and jars.
Frequently Asked Questions
Can you vacuum seal liquids without a chamber sealer?
Yes, but with a trick. Pour the liquid into the bag, stand it upright in the freezer for a few hours until it’s a solid block, and then vacuum seal the frozen block. This prevents any liquid from being sucked into your machine’s motor.
Do I have to use the special branded vacuum sealer bags?
For the best results, yes. These bags are textured with special channels on one side that allow the air to be fully removed. Regular plastic bags are smooth and will trap air pockets, defeating the purpose.
How long does vacuum-sealed food last in the freezer?
Properly vacuum-sealed food can last 3 to 5 times longer than food stored in traditional bags or containers. This means meat can last for 2-3 years instead of 6 months, and vegetables can last for well over a year.
Can you microwave or boil food in vacuum sealer bags?
Most high-quality vacuum sealer bags are made from BPA-free, food-safe plastic that is perfectly safe for simmering in water (for sous vide) or for defrosting in the microwave. Always check the manufacturer’s instructions to be sure.
Is a food vacuum sealer really worth the investment?
Absolutely. When you consider the money saved by buying in bulk, preserving leftovers that would have been thrown away, and completely eliminating food waste from freezer burn, the machine often pays for itself within a year.
Your Kitchen’s Next Great Adventure
From saving your hard-earned money to unlocking new culinary techniques, the vacuum sealer is far more than a simple storage device. It’s an invitation to be more creative, less wasteful, and better prepared. We’ve only scratched the surface of the possible DIY hacks with a Food Vacuum Sealer. So, go ahead and start experimenting. Seal that marinade, waterproof your camping gear, and reclaim your freezer from the clutches of freezer burn. You’ll wonder how you ever lived without it.