Let’s be honest, there’s nothing quite like a loaf of fresh bread. The smell, the texture… it’s a simple pleasure. But that pleasure is fleeting. Within a day or two, it starts to go stale. The natural solution? Your vacuum sealer. But then comes the big fear: turning that beautiful, airy loaf into a sad, flat pancake. If you’ve ever wondered How To Vacuum Seal Bread Without Crushing it, you’ve come to the right place. As the voice behind Food Vacuum Sealer, I’ve flattened my fair share of sourdough in the name of science, and I’m here to share the foolproof methods that will keep your bread fluffy and fresh for months.
Forget the bread-pocalypse. We’re going to turn your vacuum sealer into your bread’s best friend. This guide will walk you through the essential techniques, from a simple “secret weapon” trick to mastering your machine’s settings, ensuring your baked goods emerge from the freezer as perfect as the day you sealed them.
Why Bother Vacuum Sealing Bread in the First Place?
Is it really worth the effort? Absolutely. When you properly vacuum seal bread, you’re not just storing it; you’re preserving it.
- Kiss Freezer Burn Goodbye: Freezer burn is the arch-nemesis of frozen food. It’s caused by air exposure, which zaps moisture and flavor. A vacuum sealer removes virtually all the air, creating an impenetrable barrier. Your bread will taste fresh-baked, not freezer-funky.
- Lock in Freshness and Flavor: By removing oxygen, you halt the staling process in its tracks. The moisture, texture, and delicious aroma of your bread are locked inside the bag, waiting to be released when you’re ready.
- Save Money and Reduce Waste: Baked a bit too much sourdough? Scored a great deal on your favorite rolls at the bakery? Sealing and freezing allows you to buy in bulk or save your homemade creations without worrying about waste. It’s a win for your wallet and the planet.
The Golden Rule: Pre-Freezing is Your Secret Weapon
If you learn only one thing today, let it be this: the single most effective way to vacuum seal bread without crushing it is to freeze it first. It’s a game-changer.
Why Does Pre-Freezing Work?
Think of fresh bread like a delicate sponge. When the vacuum sealer starts pulling air, the pressure easily collapses the soft, airy structure. However, once the bread is frozen solid, its structure becomes rigid and firm. The water molecules inside have turned to ice, providing internal support. Now, when you apply the vacuum, the bread can easily withstand the pressure without being squished.
The Step-by-Step Pre-Freezing Method
This technique, often called “flash freezing,” is incredibly simple and nearly guarantees perfect results every time.
- Prep Your Bread: Let your bread cool completely if it’s freshly baked. Sealing warm bread can trap moisture and lead to a soggy texture upon thawing. You can keep it whole or slice it first—slicing beforehand is super convenient for grabbing a piece or two at a time.
- Arrange for Freezing: Place the loaf or individual slices on a baking sheet. Make sure they are in a single layer and not touching. This prevents them from freezing together in a giant clump.
- Flash Freeze: Put the baking sheet, uncovered, into the freezer for about 1-2 hours. You’re not looking to freeze it for long-term storage yet, just long enough for it to become completely firm to the touch.
- Bag and Seal: Once the bread is solid, it’s ready for the main event. Place your frozen loaf or slices into a vacuum sealer bag. Now you can use your machine’s full vacuum and seal cycle without any fear. The bread’s frozen structure will hold up perfectly against the pressure.
As food preservation specialist Chef Adam Peterson often says, “Patience in the kitchen pays dividends. Taking an extra hour to pre-freeze your bread before sealing is the difference between a crushed disappointment and a perfectly preserved loaf.”
The “Pulse” and “Seal” Dance: For When You’re in a Hurry
What if you don’t have time to pre-freeze? Many modern vacuum sealers come with a feature that’s perfect for delicate foods like bread: the Pulse function.
The Pulse button gives you manual control over the vacuum process. Instead of a continuous suction that would crush the bread, you can apply the vacuum in short bursts. This allows you to remove just enough air to get a good seal without compressing the loaf.
How to Master the Pulse Method
- Place Bread in the Bag: Put your fresh, room-temperature bread in a vacuum sealer bag, leaving several inches of space at the top.
- Begin Pulsing: Instead of hitting the “Vacuum & Seal” button, press and hold the “Pulse” button for a second or two, then release. Watch the bag carefully. You will see it start to shrink around the bread.
- Repeat and Observe: Continue pulsing in short bursts. Your goal is to remove most of the air until the bag is snug against the bread, but before the bread starts to compress. This is more of an art than a science, so watch closely!
- Seal It Up: Once you’re happy with the amount of air removed, immediately press the “Seal” or “Manual Seal” button. This will stop the vacuum pump and create the heat seal, locking in the partial vacuum you’ve created.
|
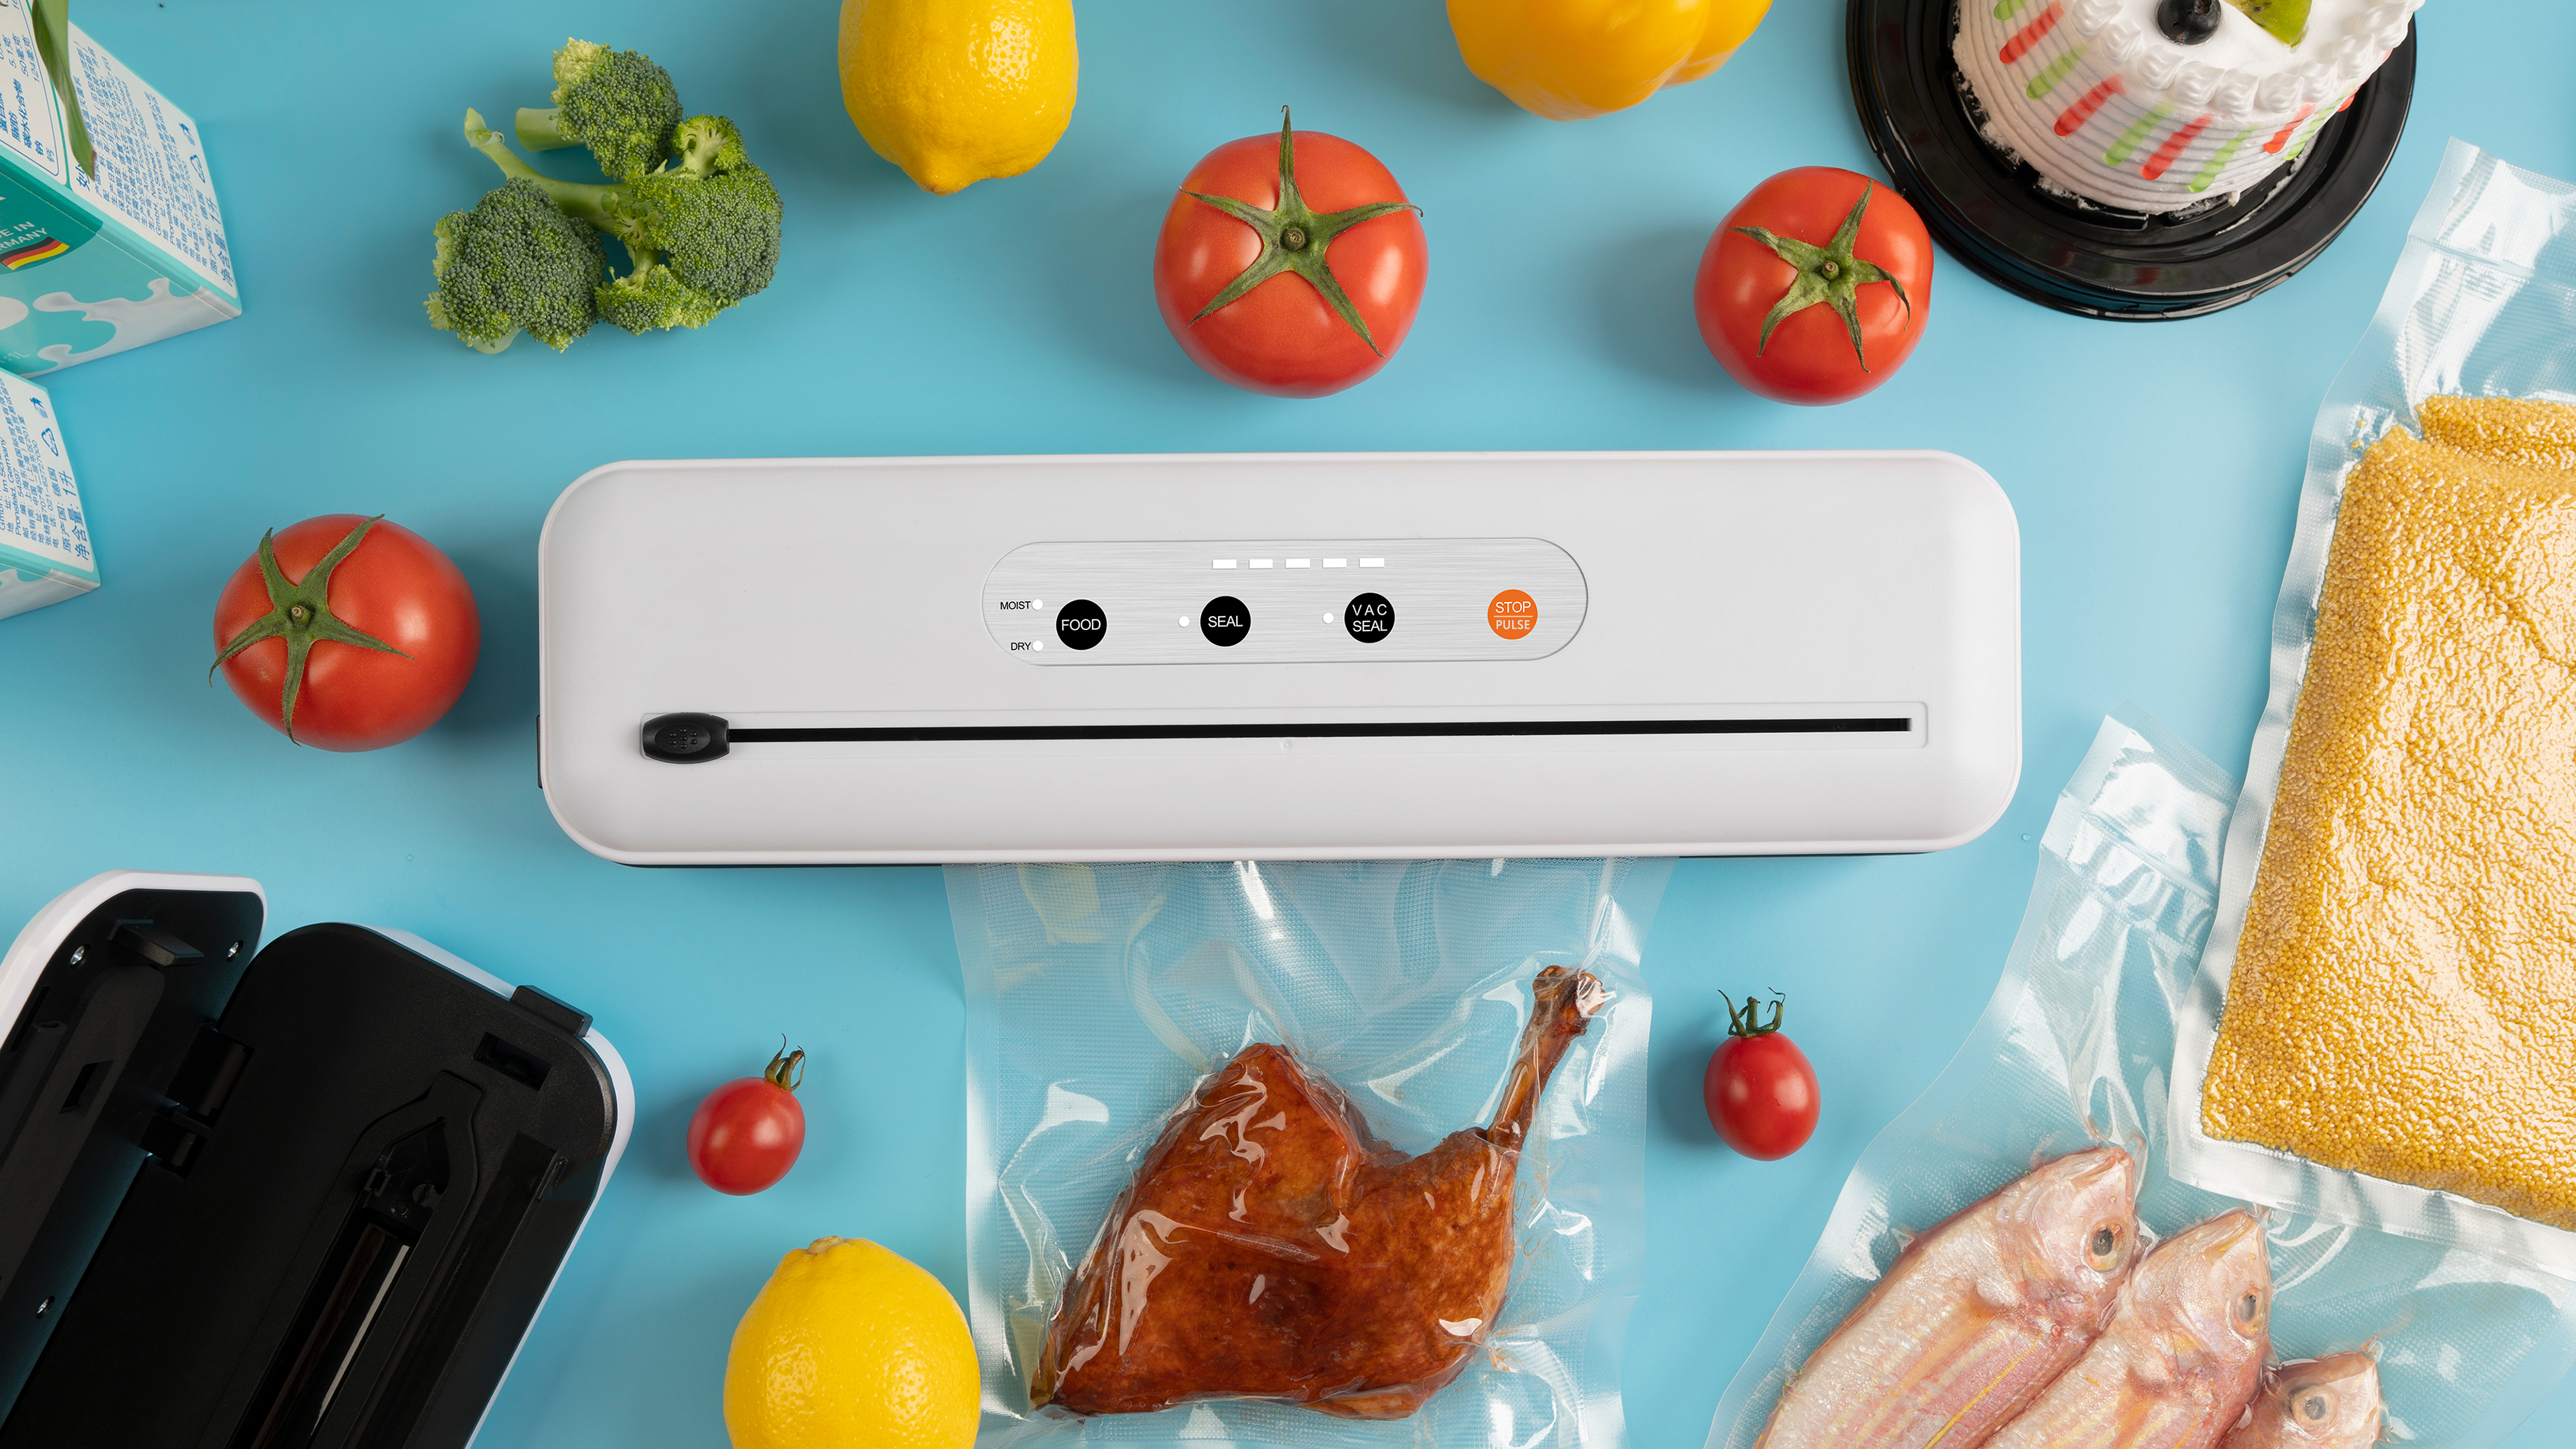
Our Picks for the Best Food Vacuum Cealer in 2026
As an Amazon Associate, we earn from qualifying purchases.
|
||
| Num | Product | Action |
|---|---|---|
| 1 | Nesco Deluxe Food VS-12 Vacuum Sealer, 130 Watts, Kit Bags & Viewing Lid, Compact, Silver |

|
| 2 | Chef Preserve Compact Vacuum Sealer for Food (Vacuum Sealer Machine + 30 Reusable Vacuum Bags) Powerful Handheld Vacuum Sealer Machine, Seal Meal Saver, Portable Food Sealer |
|
| 3 | SEATAO VH5188 Automatic Vacuum Sealer Machine, 90kPa Multifunction Commercial Vacuum Food Sealer For Food Preservation, Dry & Moist & Food & Extended Modes, LED lights, Double Seal |
|
| 4 | Vakumar Liquid Vacuum Sealer Machine, 90Kpa Vacuum Sealer Machine Preservation Dry/Moist/Liquid Modes, LED Indicator Light, Handle Locked Design, Built-in Cutter and Bag Storage, Removable Drip Tray |
|
| 5 | NutriChef Automatic Vacuum Air Sealing System for Food Preservation with Starter Kit, Compact Design, Lab Tested, Dry & Moist Food Modes with Led Indicator Lights, Black |
|
| 6 | Vacuum Sealer Machine Powerful 90Kpa Precision 6-in-1 Compact Food Preservation System with Cutter, 2 Bag Rolls & 5 Pre-cut Bags, Widened 12mm Sealing Strip, Dry&Moist Modes (Silver) |
|
| 7 | FoodSaver Compact Vacuum Sealer Machine with Airtight Bags and Roll - Ideal for Sous Vide and Airtight Food Storage, White |
|
| 8 |
|
|
| 9 | FoodSaver V4400 2-in-1 Vacuum Sealer Machine with Automatic Vacuum Sealer Bag Detection and Starter Kit |
|
| 10 | FoodSaver Vacuum Sealer Machine, Automatic Bag Detection, Sous Vide Friendly, with sealer bags, roll, handheld vacuum sealer, black |
|
What if My Sealer Doesn’t Have a Pulse Function?
Don’t worry, you can still achieve a similar result with a basic machine. The trick is to manually stop the vacuum process at the right moment.
- Start the normal “Vacuum & Seal” cycle.
- Watch the bag like a hawk.
- The second you see the bag become snug and the bread is just about to compress, hit the “Seal” or “Cancel” button. On most machines, this stops the vacuum pump and immediately begins the sealing process.
This method requires a bit of practice to get the timing right, but it’s a fantastic skill to have for sealing all kinds of delicate foods.
Best Practices and Common Mistakes to Avoid
Knowing how to vacuum seal bread without crushing it involves a few extra pro tips. Avoiding these common pitfalls will ensure your success.
- Don’t Seal Warm Bread: As mentioned, always let bread cool completely. Trapped steam creates condensation, which can ruin the texture and compromise the seal.
- Use the Right Size Bag: Using a bag that’s too small will make it harder to get a good seal and can increase the chance of crushing. Always leave at least 3-4 inches of empty space at the top of the bag.
- Double-Check Your Seal: After sealing, run your finger along the seal line. It should be clear, uniform, and have no wrinkles or gaps. If you’re unsure, it’s always a good idea to make a second seal just above the first one for extra security.
- Consider the Type of Bread: Hearty, crusty loaves like sourdough or dense whole wheat are more forgiving than soft, enriched breads like brioche or white sandwich bread. For very delicate items like dinner rolls or croissants, the pre-freezing method is non-negotiable.
Frequently Asked Questions (FAQ)
How long does vacuum sealed bread last in the freezer?
Properly vacuum-sealed bread can last for 1 to 2 years in the freezer without any loss of quality or freezer burn. This is a massive improvement over the 2-3 months you’d get with a standard freezer bag.
Can I vacuum seal sliced bread?
Yes! In fact, it’s incredibly convenient. Use the pre-freezing method: lay the slices on a baking sheet, freeze them solid, and then bag them. You can then pull out exactly as many slices as you need without having to thaw the whole loaf.
What’s the best way to thaw vacuum sealed bread?
For the best results, let it thaw at room temperature on the counter while still in the bag. This allows the bread to slowly reabsorb any moisture. Once thawed, you can pop it in the oven for a few minutes to crisp up the crust and make it taste like it was just baked.
Can I use these methods for other baked goods like muffins or cookies?
Absolutely! The pre-freezing method works wonders for muffins, cupcakes, brownies, and soft cookies. The pulse method is also great for preventing delicate items from being broken or crushed.
Do I need to use special vacuum sealer bags for bread?
You should always use bags designed specifically for your vacuum sealer. These bags are multi-layered and textured to allow for complete air removal and a strong, durable seal that can withstand the freezer. Standard zip-top bags will not work.
Your Journey to Perfectly Preserved Bread
You are now equipped with the knowledge and techniques of a preservation pro. The fear of the flattened loaf is a thing of the past. Whether you choose the foolproof pre-freezing method or master the delicate dance of the pulse function, you have the power to keep your bread fresh, delicious, and ready to enjoy whenever you want. So go ahead, bake that extra loaf, take advantage of that bakery sale, and embrace the waste-free, flavor-packed world of food preservation. Mastering how to vacuum seal bread without crushing it is a simple skill that will reward you with perfect bread time and time again.