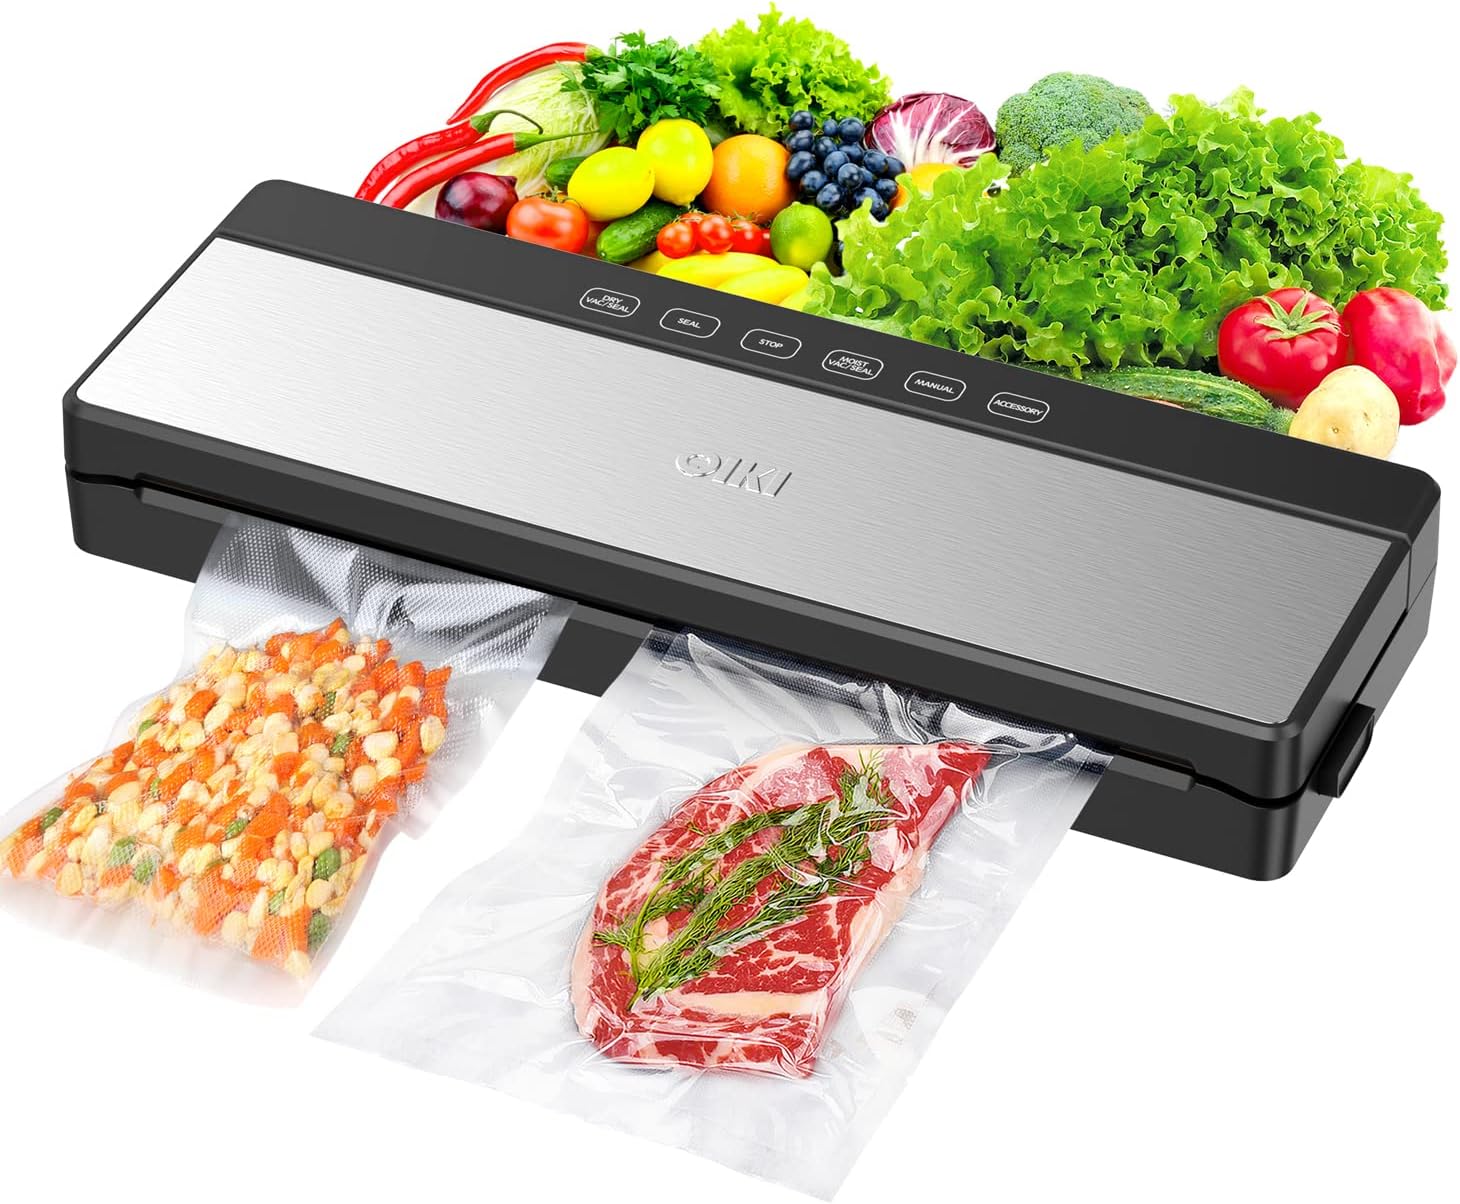
Ever come home from a big trip to Costco or the local butcher, stare at the mountain of groceries on your counter, and feel a slight panic? You’ve just spent a good chunk of change, and now the race against time begins. How do you keep all that fresh meat, produce, and cheese from going bad before your family can eat it? If this sounds familiar, you need to know about the game-changing power of a Vacuum Sealer For Family Bulk Shopping. This isn’t just another kitchen gadget destined to collect dust; it’s an investment that pays for itself by slashing your food waste, locking in freshness, and making your bulk-buying habits incredibly smart and efficient.
We’re going to break down everything you need to know. Think of me as your friendly guide in the world of food preservation. We’ll explore how these machines work their magic, what to look for when buying one, and the pro tips that will turn you into a food-saving superstar. Ready to transform your kitchen and your budget? Let’s dive in.
How Does a Vacuum Sealer Actually Work?
At its core, the concept is brilliantly simple. A vacuum sealer removes the air from a specially designed bag or container and then creates an airtight seal. But why is removing air so important? Air, specifically the oxygen in it, is the primary enemy of fresh food. It causes a few things to happen:
- Oxidation: This is what turns sliced apples brown and makes fats and oils in meat go rancid. Removing oxygen dramatically slows this process.
- Moisture Loss: Air can pull moisture out of food, leading to that dry, tough texture.
- Microorganism Growth: Many types of bacteria and mold need oxygen to thrive. No air, no party for these spoilage culprits.
- Freezer Burn: Those dreaded icy, discolored patches on your frozen foods? That’s freezer burn. It happens when air comes into contact with the food’s surface, causing moisture to evaporate and refreeze as ice crystals. An airtight seal makes this virtually impossible.
Simply put, a vacuum sealer hits the “pause” button on the decaying process, extending the shelf life of your food by up to five times longer than traditional storage methods like zipper bags or plastic wrap.
What Are the Main Types of Food Vacuum Sealers?
Not all vacuum sealers are created equal. They generally fall into two main categories, each suited for different needs, especially when you’re dealing with the quantities involved in family bulk shopping.
External (or Suction) Vacuum Sealers
This is the most common and popular type for home kitchens. You place the open end of a textured bag into the machine’s channel, close the lid, and the machine sucks the air out before heat-sealing the edge.
- Pros: They are generally more affordable, compact, and perfect for most household tasks like sealing meats, cheeses, and dry goods.
- Cons: They can struggle with very moist foods or liquids, as the suction can pull the liquid into the machine.
For most people looking for a vacuum sealer for family bulk shopping, an external sealer is the perfect starting point.
Chamber Vacuum Sealers
These are the heavy-duty workhorses you might see in a restaurant kitchen. Instead of just placing the bag’s opening in the machine, you place the entire bag inside a chamber. The machine then removes the air from the entire chamber, which equalizes the pressure inside and outside the bag. This clever trick means you can seal liquids like soups and marinades without making a mess.
- Pros: Unmatched performance, especially with liquids. They often provide a stronger, more reliable seal.
- Cons: They are significantly larger, heavier, and more expensive.
A chamber sealer is overkill for most families, but if you’re a serious meal prepper, hunter, or sous vide enthusiast who frequently seals liquids, it could be a worthwhile investment.
A Beginner’s Guide: How to Use Your Vacuum Sealer
So you’ve got your machine. Now what? Using it is easier than you think. Here’s a simple step-by-step process.
- Prepare Your Food: Make sure your food is clean and dry. For liquids or very moist foods (like ground meat), it’s a great idea to pre-freeze them for 1-2 hours on a baking sheet. This solidifies them just enough to prevent any liquid from being sucked into the machine.
- Fill the Bag: Use bags designed for your vacuum sealer. Don’t overfill them! Leave at least 3-4 inches (about 8-10 cm) of space at the top. This gives the machine enough room to get a good grip and create a clean, wide seal.
- Position the Bag: Open the lid of your sealer and place the open end of the bag flat and wrinkle-free across the sealing strip, inside the drip tray or vacuum channel as per your model’s instructions.
- Seal It Up: Close the lid and lock it firmly. Press the “Vacuum & Seal” button. The machine will whir to life, sucking all the air out. You’ll literally see the bag shrink-wrap around your food. Once all the air is gone, the heat bar will activate to melt the plastic and create the seal.
- Label and Store: Once the machine is finished, open the lid and inspect the seal. It should be clear and complete. Now, grab a permanent marker and label the bag with the contents and the date. This is a crucial step you’ll thank yourself for later when you’re digging through the freezer!
Pro Tips for Perfect Sealing Every Time
Want to get the most out of your machine? Here are a few tricks I’ve learned over the years.
- Blanch Your Veggies: For vegetables like broccoli, cauliflower, and Brussels sprouts, you should blanch them before sealing. These veggies release gases over time, which can cause the bag to inflate. A quick dip in boiling water followed by an ice bath stops this process.
- Create a Liquid Barrier: If you’re sealing something moist but don’t have time to pre-freeze, fold a paper towel and place it inside the bag, between the food and where the seal will be. It will catch any excess moisture.
- Double Seal for Security: For long-term freezer storage or for sous vide cooking, run a second seal cycle just above the first one. This creates an extra layer of protection against any potential leaks.
- Keep It Clean: After each use, wipe down the vacuum channel and sealing strip with a damp cloth. Any food residue can compromise the quality of your next seal.
|
Our Picks for the Best Food Vacuum Cealer in 2026
As an Amazon Associate, we earn from qualifying purchases.
|
||
| Num | Product | Action |
|---|---|---|
| 1 | FoodSaver Compact Vacuum Sealer Machine with Airtight Bags and Roll - Ideal for Sous Vide and Airtight Food Storage, White |

|
| 2 |
|
|
| 3 | Vakumar Liquid Vacuum Sealer Machine, 90Kpa Vacuum Sealer Machine Preservation Dry/Moist/Liquid Modes, LED Indicator Light, Handle Locked Design, Built-in Cutter and Bag Storage, Removable Drip Tray |
|
| 4 | SEATAO VH5188 Automatic Vacuum Sealer Machine, 90kPa Multifunction Commercial Vacuum Food Sealer For Food Preservation, Dry & Moist & Food & Extended Modes, LED lights, Double Seal |
|
| 5 | FoodSaver Vacuum Sealer Machine, Automatic Bag Detection, Sous Vide Friendly, with sealer bags, roll, handheld vacuum sealer, black |
|
| 6 | Chef Preserve Compact Vacuum Sealer for Food (Vacuum Sealer Machine + 30 Reusable Vacuum Bags) Powerful Handheld Vacuum Sealer Machine, Seal Meal Saver, Portable Food Sealer |
|
| 7 | FoodSaver V4400 2-in-1 Vacuum Sealer Machine with Automatic Vacuum Sealer Bag Detection and Starter Kit |
|
| 8 | Vacuum Sealer Machine Powerful 90Kpa Precision 6-in-1 Compact Food Preservation System with Cutter, 2 Bag Rolls & 5 Pre-cut Bags, Widened 12mm Sealing Strip, Dry&Moist Modes (Silver) |
|
| 9 | NutriChef Automatic Vacuum Air Sealing System for Food Preservation with Starter Kit, Compact Design, Lab Tested, Dry & Moist Food Modes with Led Indicator Lights, Black |
|
| 10 | Nesco Deluxe Food VS-12 Vacuum Sealer, 130 Watts, Kit Bags & Viewing Lid, Compact, Silver |
|
What Foods Should (and Shouldn’t) You Vacuum Seal?
While a vacuum sealer is incredibly versatile, it’s not a magic wand for everything. Knowing what works and what doesn’t is key to success.
The “Yes” List: Perfect for Sealing
- Raw and Cooked Meats: Beef, chicken, pork, and fish are perfect candidates. Buying a whole loin or family pack of chicken breasts and sealing them in meal-sized portions is a massive money-saver.
- Hard Cheeses: Vacuum sealing prevents mold and keeps hard cheeses like cheddar and parmesan fresh for months, not weeks.
- Dry Goods: Nuts, coffee beans, flour, and pasta are protected from going stale or getting pantry pests.
- Blanched Vegetables & Fruits: Ideal for preserving your garden harvest or farmers’ market finds.
The “Handle with Care” List
- Liquids: Soups, stews, and marinades. As mentioned, always pre-freeze them in a container until solid before sealing in a bag.
- Soft Cheeses & Breads: The powerful suction can crush delicate items. Use the “pulse” function if your machine has one to control the vacuum, or simply stop the vacuum process manually before it crushes the item and just use the “seal” function.
“Your vacuum sealer should fit your lifestyle, not the other way around,” advises Dr. Elena Vance, a food preservation scientist. “For a family that buys in bulk, a reliable external sealer with a powerful motor and an accessory port for canisters is often the sweet spot between performance and price.”
The “No-Go” Zone
- Cruciferous Vegetables (Raw): As mentioned, vegetables like broccoli, cabbage, and kale release gases that will expand the bag. Always blanch them first.
- Fresh Mushrooms: They ripen quickly and can decay faster when sealed due to their high respiration rate. It’s better to cook them first, then seal.
- Whole Garlic & Raw Onions: These also release gases and can develop a particularly potent, undesirable flavor.
How to Choose the Right Vacuum Sealer for Family Bulk Shopping
Ready to buy one? Navigating the options can be tricky. Here’s what to focus on.
Sealing Power and Consistency
Look for a machine with a strong motor and a wide sealing strip. A wider seal (4-5mm) is more secure than a thin one. Consistency is key; you want a machine that provides a perfect seal every single time.
Size and Storage
Consider your counter space. Some models are sleek and compact, while others are bulkier. If you plan to use it often, you might want one that can live on the counter. If it’s for occasional use, a smaller model that fits in a cabinet might be better.
Special Features
- Pulse Mode: Gives you manual control over the suction, which is perfect for delicate items.
- Moist/Dry Food Settings: Adjusts the sealing time and vacuum pressure for different types of food.
- Built-in Bag Cutter and Storage: Incredibly convenient features that streamline the whole process.
- Accessory Port: Allows you to use the sealer with reusable canisters and containers, which are great for marinating or storing delicate items like salads and berries.
Ease of Use and Cleaning
Look for a machine with a simple, intuitive interface and a removable drip tray. A dishwasher-safe drip tray is a huge bonus for easy cleanup after sealing juicy meats.
Frequently Asked Questions
Can you reuse vacuum sealer bags?
Yes, you can, with a few caveats. If the bag previously held raw meat, poultry, or fish, you should not reuse it due to the risk of bacterial contamination. For other foods, you can wash the bags thoroughly in hot, soapy water, let them dry completely, and reuse them. Just remember you’ll have to cut off the old seal, so the bag will get a little shorter each time.
How much longer does vacuum-sealed food last?
Generally, vacuum-sealed food lasts 3 to 5 times longer than food stored in traditional bags or containers. For example, frozen beef can last up to 2-3 years in a vacuum-sealed bag compared to just 6-12 months otherwise.
What is freezer burn and how does a vacuum sealer prevent it?
Freezer burn is dehydration caused by air exposure in the freezer. It sucks the moisture out of your food, leaving it tough, discolored, and tasteless. By removing all the air and creating an airtight barrier, a vacuum sealer makes it impossible for freezer burn to occur.
Can I vacuum seal liquids like soups or stews?
Absolutely! The trick is to freeze the liquid first. Pour your soup or stew into a container, freeze it until it’s a solid block, then pop the block out and vacuum seal it in a bag. This method works perfectly and prevents any mess.
Is a vacuum sealer for family bulk shopping really worth the investment?
Without a doubt. The average American family throws away thousands of dollars worth of food each year. By preventing spoilage and freezer burn from your bulk purchases, the machine can easily pay for itself within a year, not to mention the improved taste and quality of your food.
Your Partner in the Fight Against Food Waste
Making the leap to bulk shopping is a fantastic way to save money for your family. But without the right tools, it can quickly lead to waste and frustration. A good vacuum sealer for family bulk shopping isn’t just a gadget; it’s a fundamental part of a smarter, more sustainable kitchen strategy. It empowers you to buy in bulk with confidence, knowing that every pound of ground beef, every chicken breast, and every block of cheese will stay as fresh as the day you bought it.
So go ahead, embrace that giant Costco haul. Your new secret weapon is ready. What’s the first thing you’ll seal?