There’s a special kind of magic at the farmers market, isn’t there? The vibrant colors of heirloom tomatoes, the earthy smell of fresh-picked greens, the friendly chat with the farmer who grew your food. You come home with bags bursting with goodness, feeling inspired. But then, reality hits. That beautiful basil starts to wilt, the berries get a little soft, and you’re in a race against time to use it all up. What if you could press pause on that freshness? That’s exactly where a Vacuum Sealer For Farmers Markets becomes your secret weapon, transforming your relationship with fresh, local food. It’s not just about storage; it’s about preserving that peak-season flavor and making every dollar you spend count.
How Does a Vacuum Sealer Actually Work?
So, what’s the sorcery behind this kitchen gadget? It’s actually pretty straightforward. Think of it like a super-powered straw. A vacuum sealer does two simple but crucial things:
- It removes the air: The machine sucks all the oxygen out of a specially designed bag or container that holds your food.
- It creates an airtight seal: Using heat, it melts the edges of the bag together, creating a seal that oxygen can’t get through.
Why is oxygen the enemy? Oxygen is what allows bacteria and mold to thrive, and it’s what causes oxidation—the process that makes your food spoil, lose nutrients, and develop that dreaded freezer burn. By removing the oxygen, you’re essentially putting a stop to the spoiling process, extending the life of your food by up to five times longer than traditional storage methods.
The Game-Changing Benefits for Your Farmers Market Finds
Let’s be real, you’re not just buying food at the market; you’re buying flavor, quality, and a connection to your community. Using a vacuum sealer for farmers markets helps you protect that investment.
- Lock in Peak Freshness: Seal those sun-ripened strawberries or that crisp asparagus the day you buy them. When you open that bag weeks or even months later, they’ll taste remarkably close to the day they were picked.
- Say Goodbye to Freezer Burn: Freezer burn happens when air comes into contact with the moisture in your food, causing ice crystals to form and dehydrate it. The result? Dry, tough, and flavorless meat and veggies. An airtight vacuum seal makes freezer burn a thing of the past.
- Slash Your Food Waste (and Save Money): No more throwing away wilted spinach or fuzzy raspberries. By extending the life of your produce, you use what you buy, which is a huge win for both your wallet and the planet.
- Effortless Meal Prep: Did you buy a huge bunch of kale? Wash it, chop it, and seal it in meal-sized portions. Your future self will thank you when you can just grab a bag and toss it into a smoothie or stir-fry.
“Vacuum sealing is the closest you can get to commercially freezing food at home. It dramatically slows down the degradation of quality, preserving not just the flavor and texture, but also the nutritional content of fresh foods.” – Dr. Sarah Jenkins, Food Scientist
What Types of Vacuum Sealers Are Out There?
Walking into the world of vacuum sealers can feel a bit overwhelming, but they mostly fall into two main categories. Understanding the difference is key to finding the right fit for your kitchen.
External (or Edge) Vacuum Sealers
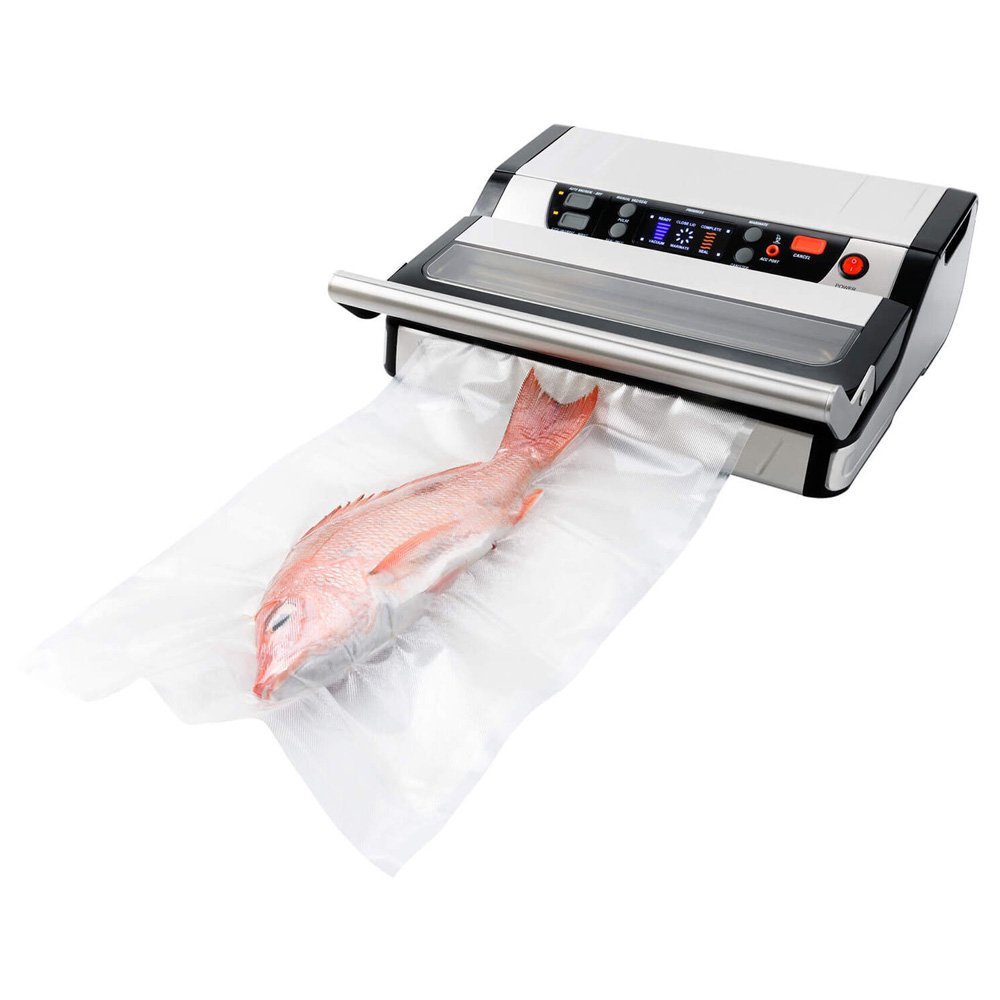
This is the most common type you’ll see for home use. You place the open end of a textured bag into the machine’s channel, close the lid, and the machine sucks the air out before sealing the edge.
- Pros: Generally more affordable, compact, and very easy to use. Perfect for most households.
- Cons: They can struggle with sealing liquids or very moist foods, as the suction can pull liquid into the machine. They also require special textured bags.
Chamber Vacuum Sealers
These are the heavy-duty workhorses. You place the entire bag inside a chamber. The machine then removes the air from the whole chamber (including inside the bag) before sealing it. This unique process means you can seal liquids like soups and marinades without any issue.
- Pros: Incredibly versatile, can seal liquids perfectly, and can use cheaper, non-textured bags. Ideal for serious home cooks, hunters, or even small-scale farmers market vendors.
- Cons: They are significantly larger, heavier, and more expensive than external sealers.
How to Use a Vacuum Sealer for Farmers Markets: A Step-by-Step Guide
Ready to seal your first market haul? It’s easier than you think. Let’s walk through sealing some beautiful green beans.
- Preparation is Key: Wash and thoroughly dry your green beans. For many vegetables, a quick blanch (a brief dip in boiling water followed by an ice bath) is recommended to preserve color, texture, and nutrients. Let them cool and dry completely.
- Choose Your Bag: Select a vacuum sealer bag that gives you a few inches of extra space at the top. This “headspace” is crucial for getting a good seal.
- Fill the Bag: Place the prepared green beans in the bag. Try to arrange them in a single layer if possible to prevent them from being crushed and to ensure an even seal.
- Position the Bag: Open the lid of your external vacuum sealer and place the open end of the bag flat into the vacuum channel, making sure it’s past the sealing bar.
- Start the Process: Close and lock the lid. Press the “Vacuum & Seal” button. The machine will whir to life, sucking the air out. You’ll literally see the bag shrink-wrap around the beans.
- The Seal of Approval: Once all the air is removed, the machine will automatically stop the vacuum and the heat bar will activate to create the seal. You’ll hear a click or a beep when it’s done.
- Inspect and Store: Open the lid and check the seal. It should be clear and have no wrinkles or gaps. Label the bag with the contents and date, then pop it in the freezer or fridge!
Pro Tips for Sealing Your Farmers Market Haul
After years of sealing everything from delicate herbs to hearty root vegetables, I’ve picked up a few tricks that make a world of difference.
- Pre-Freeze Soft Foods: For delicate items like berries, peaches, or mushrooms, spread them on a baking sheet and freeze them solid for an hour or two before vacuum sealing. This prevents them from being crushed into a pulp by the vacuum pressure.
- Give Greens Some Space: For leafy greens like spinach or chard, don’t pack the bag too tightly. Seal them, and then you can gently press them flat for easier storage in the freezer.
- Blanch Your Veggies: Seriously, don’t skip this step for vegetables like broccoli, asparagus, carrots, and green beans. Blanching deactivates enzymes that can cause them to lose flavor and color over time in the freezer.
- Manage Moisture: For juicy meats or marinated items, you can fold a paper towel and place it inside the bag, just below where the seal will be. It will catch any excess moisture without getting sucked into the machine.
|
Our Picks for the Best Food Vacuum Cealer in 2026
As an Amazon Associate, we earn from qualifying purchases.
|
||
| Num | Product | Action |
|---|---|---|
| 1 | Nesco Deluxe Food VS-12 Vacuum Sealer, 130 Watts, Kit Bags & Viewing Lid, Compact, Silver |

|
| 2 | NutriChef Automatic Vacuum Air Sealing System for Food Preservation with Starter Kit, Compact Design, Lab Tested, Dry & Moist Food Modes with Led Indicator Lights, Black |
|
| 3 | FoodSaver V4400 2-in-1 Vacuum Sealer Machine with Automatic Vacuum Sealer Bag Detection and Starter Kit |
|
| 4 | Vakumar Liquid Vacuum Sealer Machine, 90Kpa Vacuum Sealer Machine Preservation Dry/Moist/Liquid Modes, LED Indicator Light, Handle Locked Design, Built-in Cutter and Bag Storage, Removable Drip Tray |
|
| 5 | Vacuum Sealer Machine Powerful 90Kpa Precision 6-in-1 Compact Food Preservation System with Cutter, 2 Bag Rolls & 5 Pre-cut Bags, Widened 12mm Sealing Strip, Dry&Moist Modes (Silver) |
|
| 6 | Chef Preserve Compact Vacuum Sealer for Food (Vacuum Sealer Machine + 30 Reusable Vacuum Bags) Powerful Handheld Vacuum Sealer Machine, Seal Meal Saver, Portable Food Sealer |
|
| 7 | FoodSaver Vacuum Sealer Machine, Automatic Bag Detection, Sous Vide Friendly, with sealer bags, roll, handheld vacuum sealer, black |
|
| 8 | SEATAO VH5188 Automatic Vacuum Sealer Machine, 90kPa Multifunction Commercial Vacuum Food Sealer For Food Preservation, Dry & Moist & Food & Extended Modes, LED lights, Double Seal |
|
| 9 |
|
|
| 10 | FoodSaver Compact Vacuum Sealer Machine with Airtight Bags and Roll - Ideal for Sous Vide and Airtight Food Storage, White |
|
To Seal or Not to Seal? The Ultimate Farmers Market List
While a vacuum sealer for farmers markets is incredibly versatile, not all foods are created equal. Some love the airless environment, while others… not so much.
Perfect Candidates for Vacuum Sealing
- Hard Cheeses: Preserves flavor and prevents molding.
- Berries & Stone Fruit: Pre-freeze first, then seal for year-round smoothies and pies.
- Asparagus, Green Beans, Carrots: Blanch first for best results.
- Corn on the Cob: Shuck it, blanch it, and seal the whole cobs.
- Meats & Fish: The absolute best way to prevent freezer burn and store fresh cuts from the market butcher.
- Hardy Greens (Kale, Collards): Great for freezing and adding to soups later.
- Fresh Herbs: Mix with a little olive oil and freeze in ice cube trays, then pop the cubes into a bag and vacuum seal for perfect “flavor bombs.”
Foods to Handle with Care (or Avoid)
- Cruciferous Vegetables (raw): Broccoli, cauliflower, cabbage, and Brussels sprouts release gases as they age. Sealing them raw can cause the bag to inflate and the veggies to spoil. Always cook or blanch them first.
- Mushrooms (raw): Similar to cruciferous veggies, raw mushrooms can ripen and spoil quickly in an anaerobic (airless) environment. It’s best to cook them first.
- Soft Cheeses: Cheeses like brie or ricotta don’t do well with the pressure and can spoil due to active cultures.
- Whole Onions & Garlic (raw): These also release natural gases and can pose a risk of botulism when stored in an oxygen-free environment at room temperature. It’s safer to chop and freeze them.
How Do I Choose the Right Vacuum Sealer for My Needs?
Finding the perfect machine comes down to how you’ll use it. Ask yourself these questions:
- What will I be sealing most often? If it’s mostly dry goods and solid produce, a reliable external sealer is a fantastic choice. If you dream of sealing soups, stocks, and marinades, saving up for a chamber sealer might be worth it.
- How much am I sealing? If you’re processing large batches from a garden or buying in bulk, look for a sealer with a stronger motor and maybe a double-seal feature for extra security. For smaller weekly market hauls, a basic model will do just fine.
- What’s my budget? External sealers range from under $100 to a few hundred. Chamber sealers are a bigger investment, often starting around $400 and going up from there.
- Do I need extra features? Look for things like a built-in bag roll holder and cutter, a “moist” food setting, or an accessory port for sealing canisters.
Frequently Asked Questions
Can you use a vacuum sealer for farmers markets produce without freezing it?
Absolutely! Vacuum sealing can extend the life of produce in your refrigerator, too. For example, lettuce can stay crisp for up to two weeks, and carrots can last for months. It’s a great way to keep your fridge organized and your veggies fresh.
Do I have to use the special branded bags?
For external sealers, you generally need to use bags that have a textured or embossed pattern on one side. This texture creates tiny air channels that allow the machine to suck the air out. Thankfully, many third-party brands make compatible bags that are often more affordable. Chamber sealers can use smooth, less expensive bags.
Is a vacuum sealer worth it for a small household?
Yes! Even for one or two people, a vacuum sealer is a powerful tool against food waste. It allows you to take advantage of sales, buy in bulk, and preserve smaller portions of your farmers market finds without worrying about them spoiling before you can eat them.
What’s the difference between a “seal” and a “vacuum & seal” function?
The “seal” function just uses the heat bar to create a seal on a bag without sucking the air out. This is useful for making your own custom-sized bags from a roll or for resealing bags of chips or snacks. The “vacuum & seal” button performs the full two-step process.
Can I vacuum seal liquids like soup?
With an external sealer, it’s tricky but possible. The best method is to pre-freeze the liquid in a container or ice cube tray until solid, then pop it out and seal the solid block. With a chamber vacuum sealer, you can seal liquids directly without any freezing.
Your Farmers Market Haul Deserves to Last
Bringing home fresh, beautiful food from local growers is one of life’s simple pleasures. By adding a vacuum sealer for farmers markets to your kitchen arsenal, you’re not just buying a gadget; you’re investing in less waste, better flavor, and more time to enjoy the food you love. You can finally buy that giant flat of strawberries without a hint of anxiety, knowing that none of it will go to waste. So go ahead, embrace the bounty of the market and savor that peak-season goodness all year long.